Welcome to MyEasyClass
MyEasyClass is an all-in-one platform designed to help teachers work smarter, not harder.
It brings the most common teaching tools into a single, streamlined workspace
so you can spend less time managing apps and more time focusing on teaching.
Whether you're organizing lessons, communicating with students, or preparing assignments,
MyEasyClass is built to increase productivity and reduce everyday friction in your workflow.
What is MyEasyClass?
MyEasyClass combines class management, communication, scheduling, file storage, online lessons,
and AI-assisted content creation into one unified platform.
Instead of jumping between multiple services, everything you need lives in one place.
You can create a new account or sign in quickly using Google or Zoom, making onboarding fast and familiar.
Key Features
Account & Integrations
• Create a MyEasyClass account or log in using Google or Zoom
• Seamless integration with Zoom for online lessons
Communication
• Send and manage emails directly from the app
• Keep all class-related communication organized in one place
Calendar & Scheduling
• Manage your teaching calendar
• Schedule lessons, classes, and important events
Drive Management
• Upload, organize, and manage files
• Keep teaching materials and resources easily accessible
Classes & Lessons
• Create and manage classes
• Hold live lessons using integrated Zoom meetings
Assignments & Homework (AI-powered)
• Generate assignments and homework using ChatGPT
• Save time on content creation while maintaining flexibility and control
Who Is It For?
MyEasyClass is built for teachers, tutors, and educators who want a centralized platform for managing their daily tasks.
It's especially useful for anyone teaching online, managing multiple classes, or looking to simplify their digital teaching toolkit.
Getting Started
To get started, create an account or sign in using Google or Zoom. Once logged in,
you can immediately begin setting up classes, scheduling lessons, and organizing your teaching workflow.
MyEasyClass is here to make teaching easier, faster, and more organized
All in one place.
Register a new account
1. Enter the login page
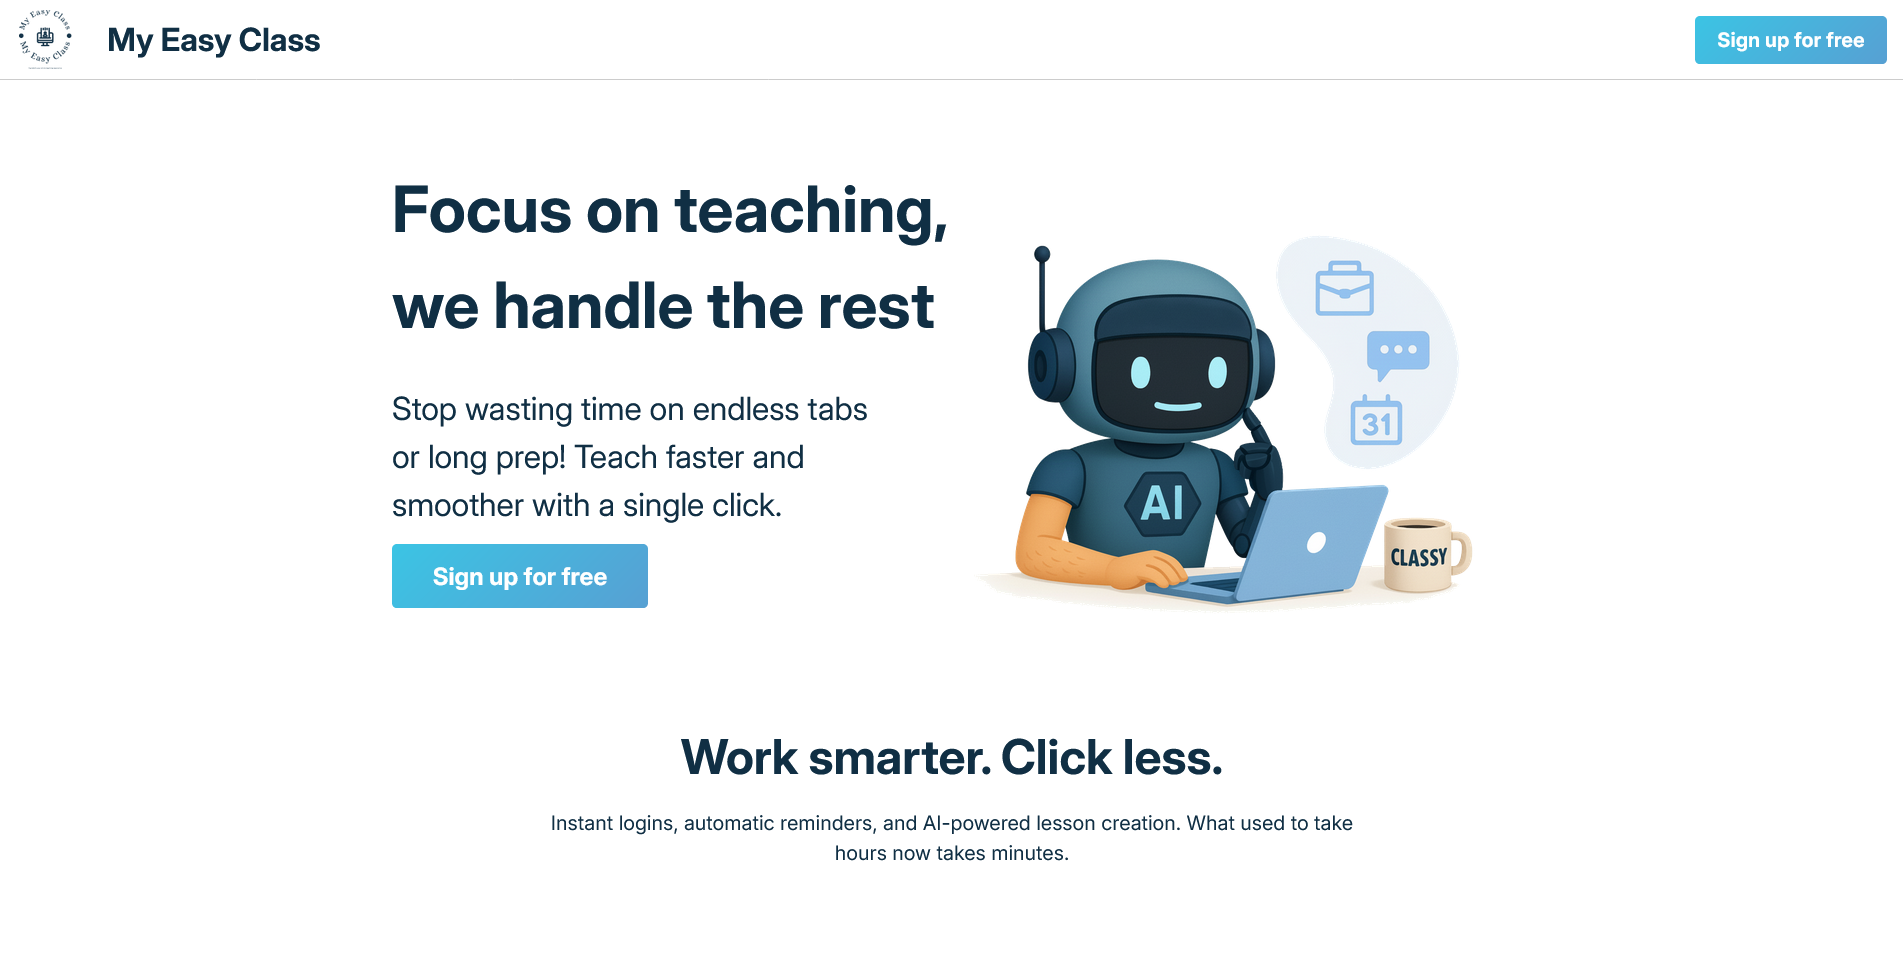
When you enter MyEasyClass you'll be presented with the initial screen.
Click the "Sign up for free" button to go to the login page.
2. Enter the register page
In the top right corner of the login page you'll see the button for the register page.
Click the "Sign up for free" button to go to the register page.
3. Navigate register page
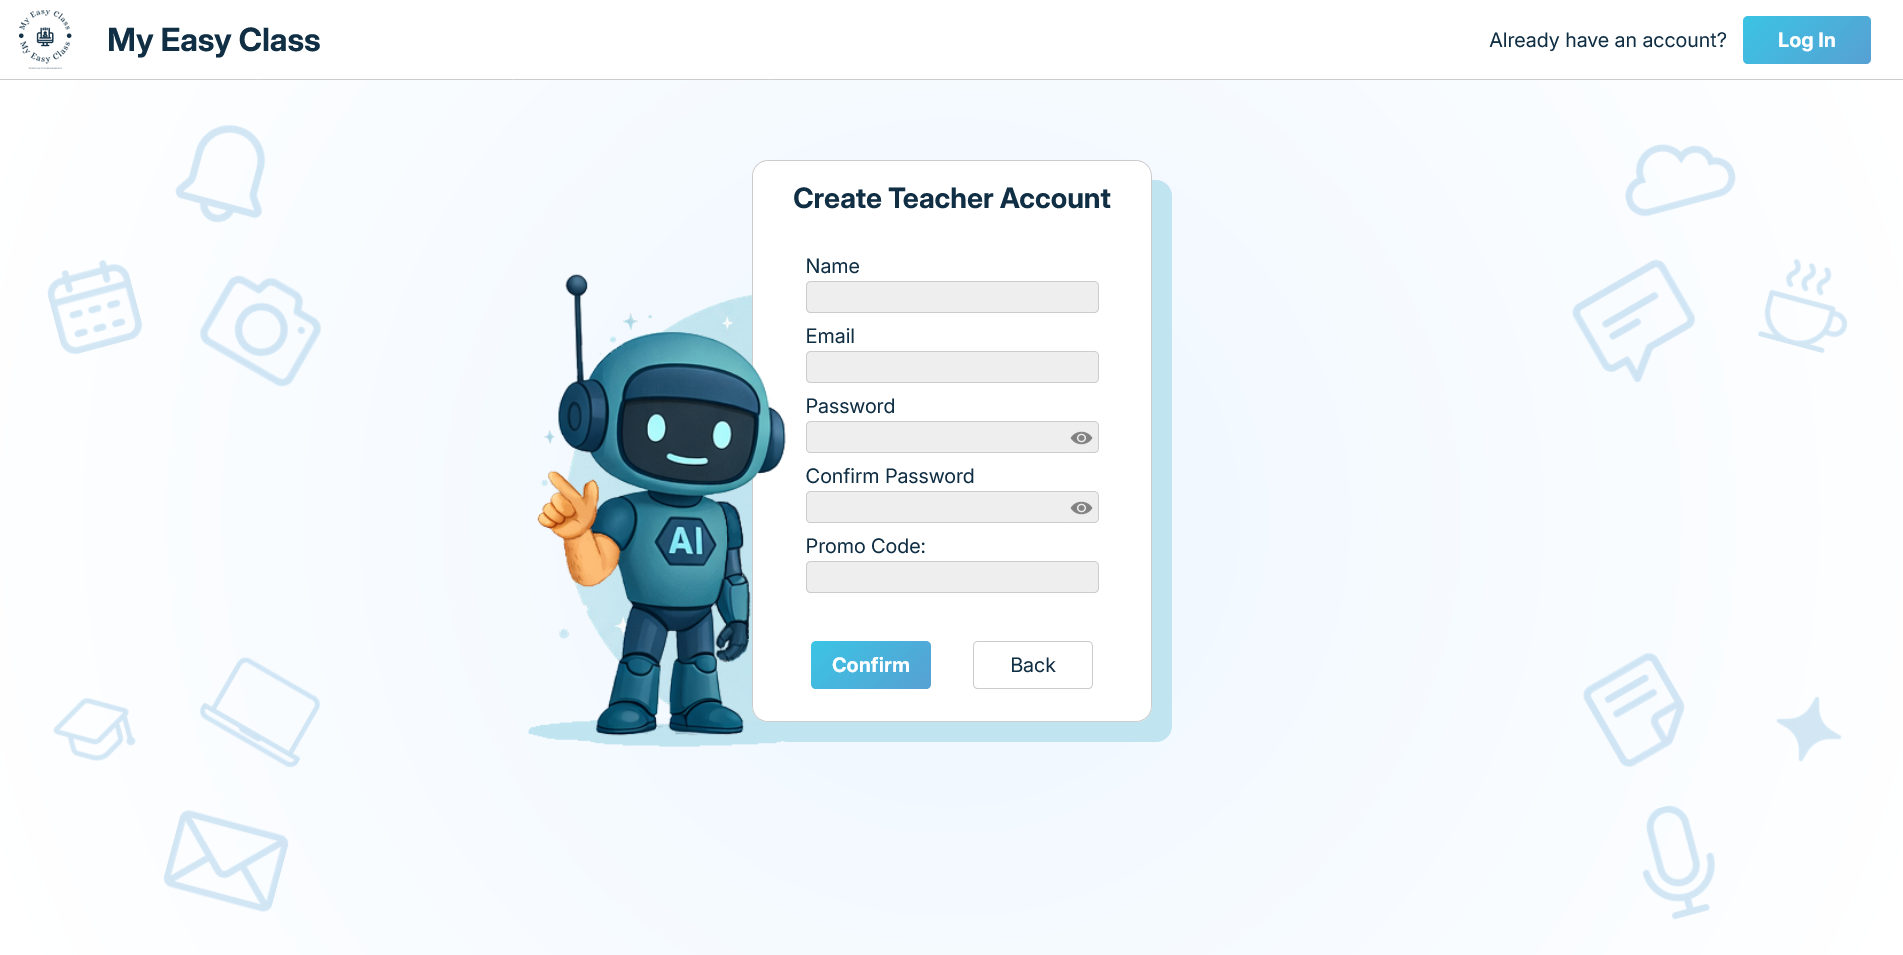
This is our "Register a new account" page.
Here we'll enter all the required files for our new account.
4. Enter the new account name
In the name field enter your name.
This field cannot be empty.
5. Enter the new account email
In the email field enter your email.
This field cannot be empty.
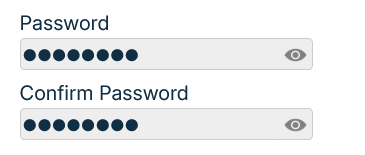
6. Enter the new account password
In the password field enter your password.
In the confirm password field enter your password again.
Both passwords must match.
These fields cannot be empty.
Clicking on the eye icon you can switch between the hidden and shown view for the password.
7. Enter the Promo Code
In the promo code field enter a promo code if you have one.
Accounts made with a promo code have a longer free trial period.
This field can be empty.
8. Confirm your new account
If you've entered all the required fields we can now finish the registration proccess.
Click the "Confirm" button to create your account.
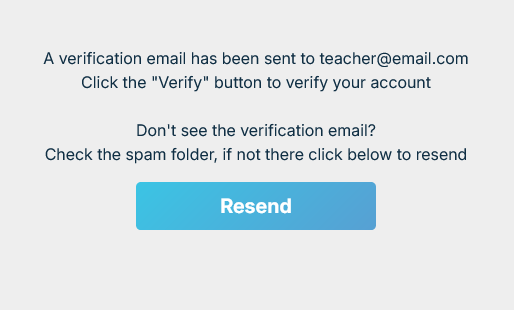
9. Registration Success
If the registration was succefull, you'll be presented with the verification page
You can now check your email which you've entered while registering and verify it's yours
If you don't see your email in the inbox, check the spam mail
If the verification email hasn't been sent, you can resend it by clicking the "Resend" button
Click the "Confirm" button to create your account.
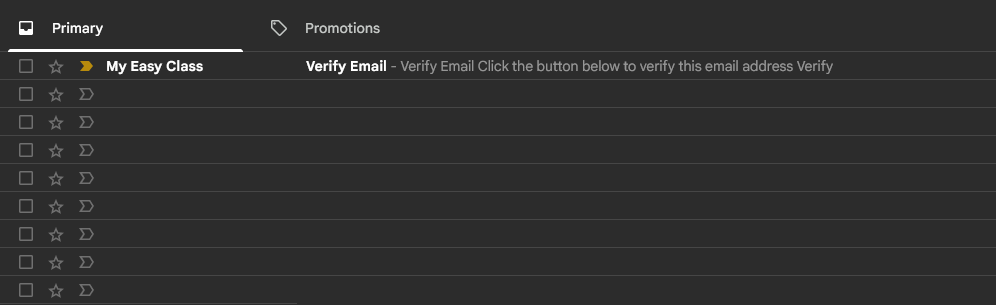
10. Verify Email
Go to your email.
Inside your inbox you'll see the verification email.
Open the message.
11. Confirm Email
In the email sent by MyEasyClass you'll see the verification window.
To verify this email simply click the "Verify" button.
This will redirect you back to MyEasyClass and you can log into your account now.
Register a new account with Google
1. Enter the login page
When you enter MyEasyClass you'll be presented with the initial screen.
Click the "Sign up for free" button to go to the login page.
2. Register with Google
In the main login window on the right side you'll see a Google icon.
Click it to start the process of registering with Google.
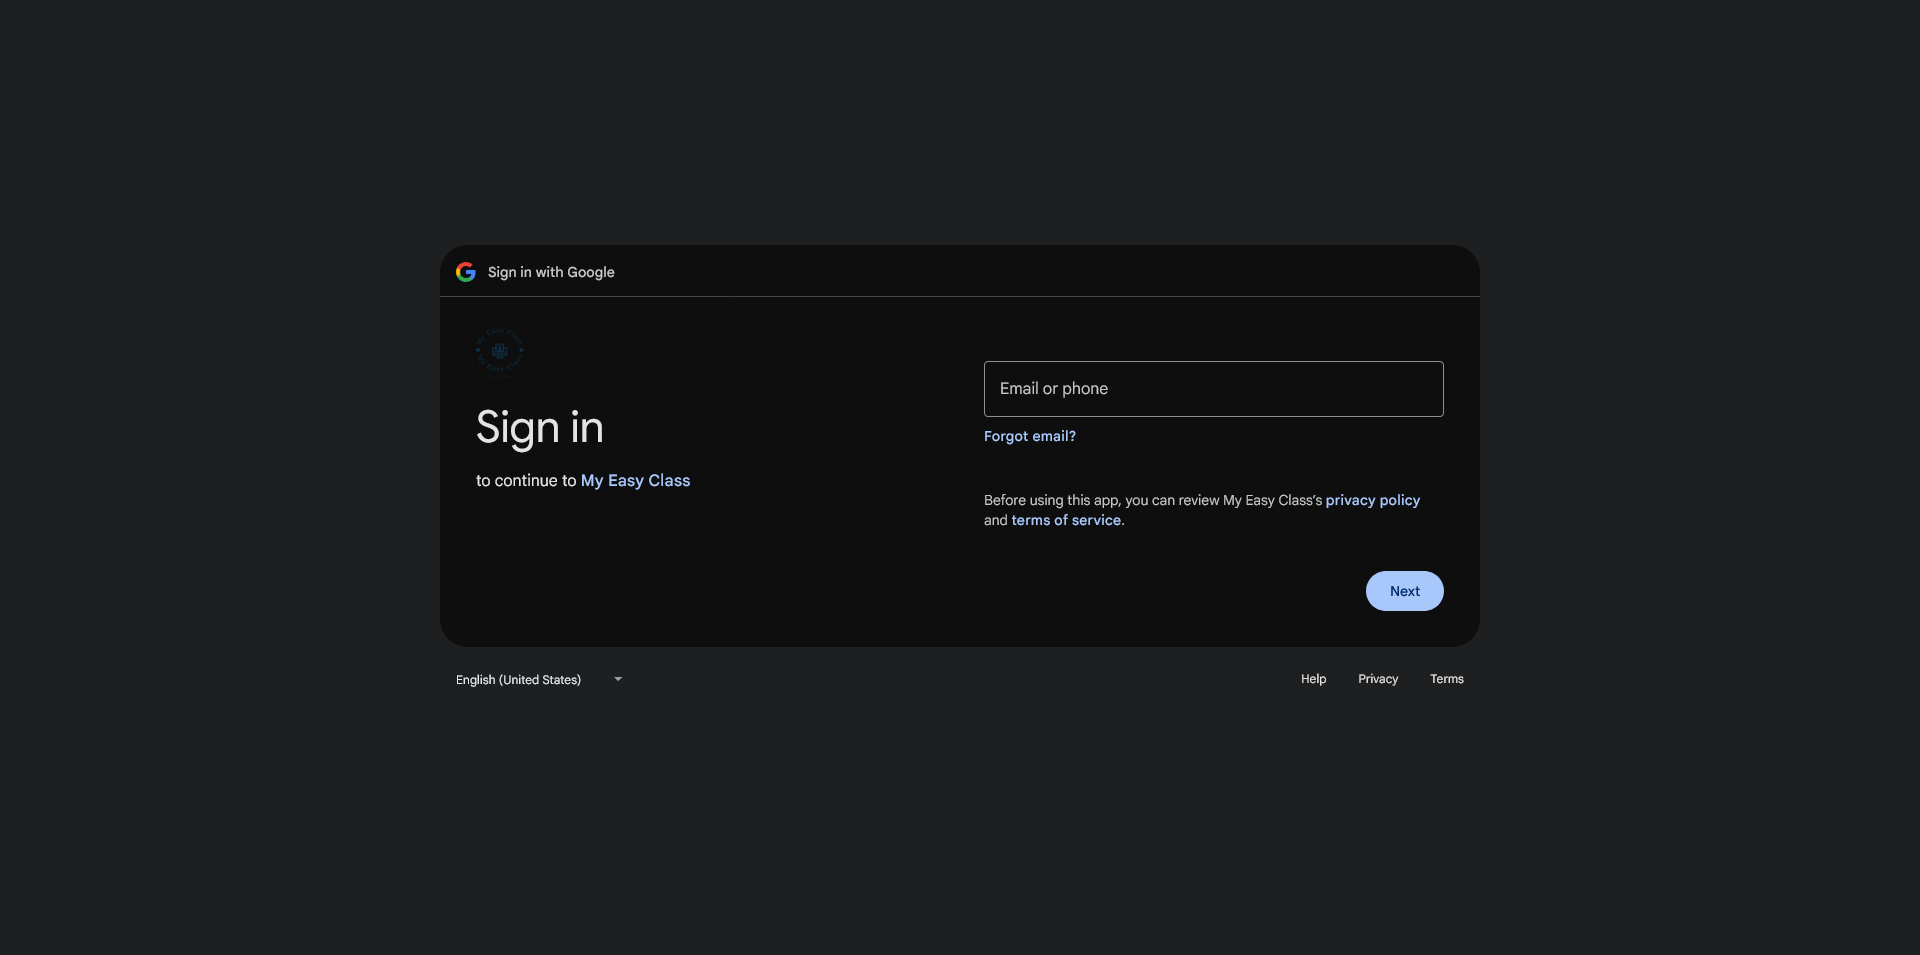
3. Enter your Google email
You've now been transfered to the Google signup screen.
Enter your Google address in the filed below.
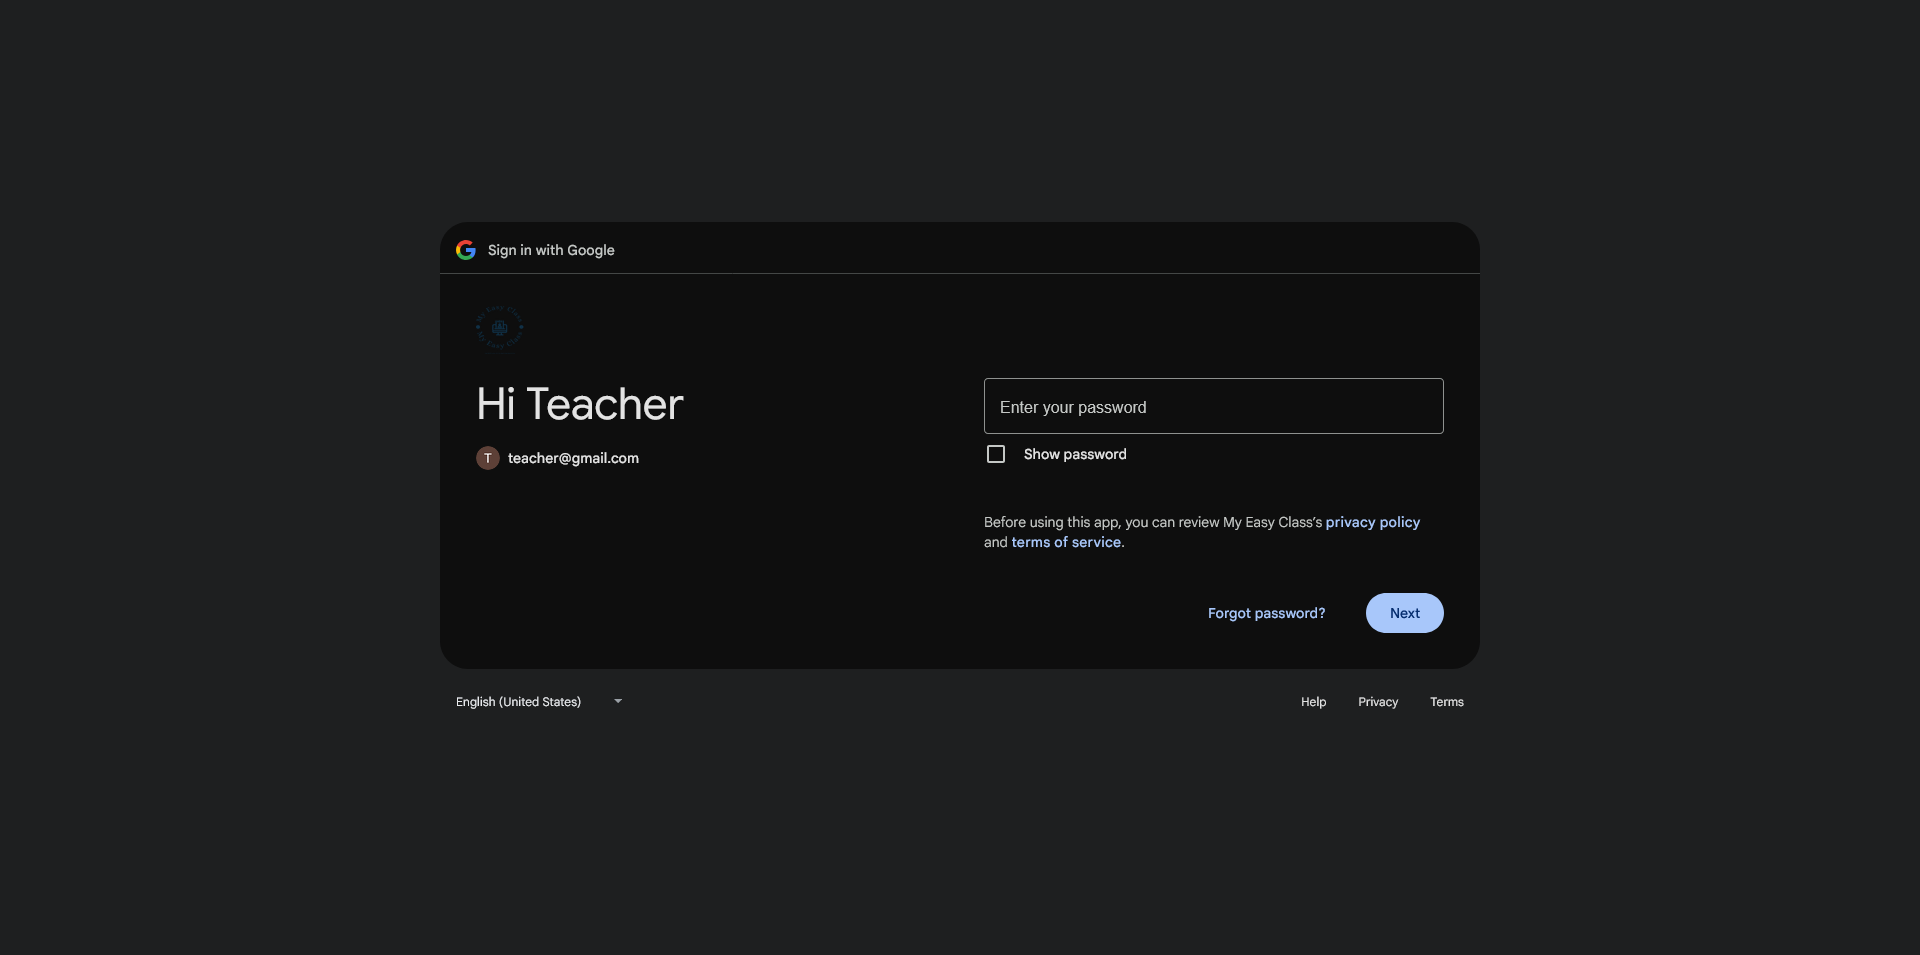
4. Enter your Google password
Now enter your Google password in the field below.
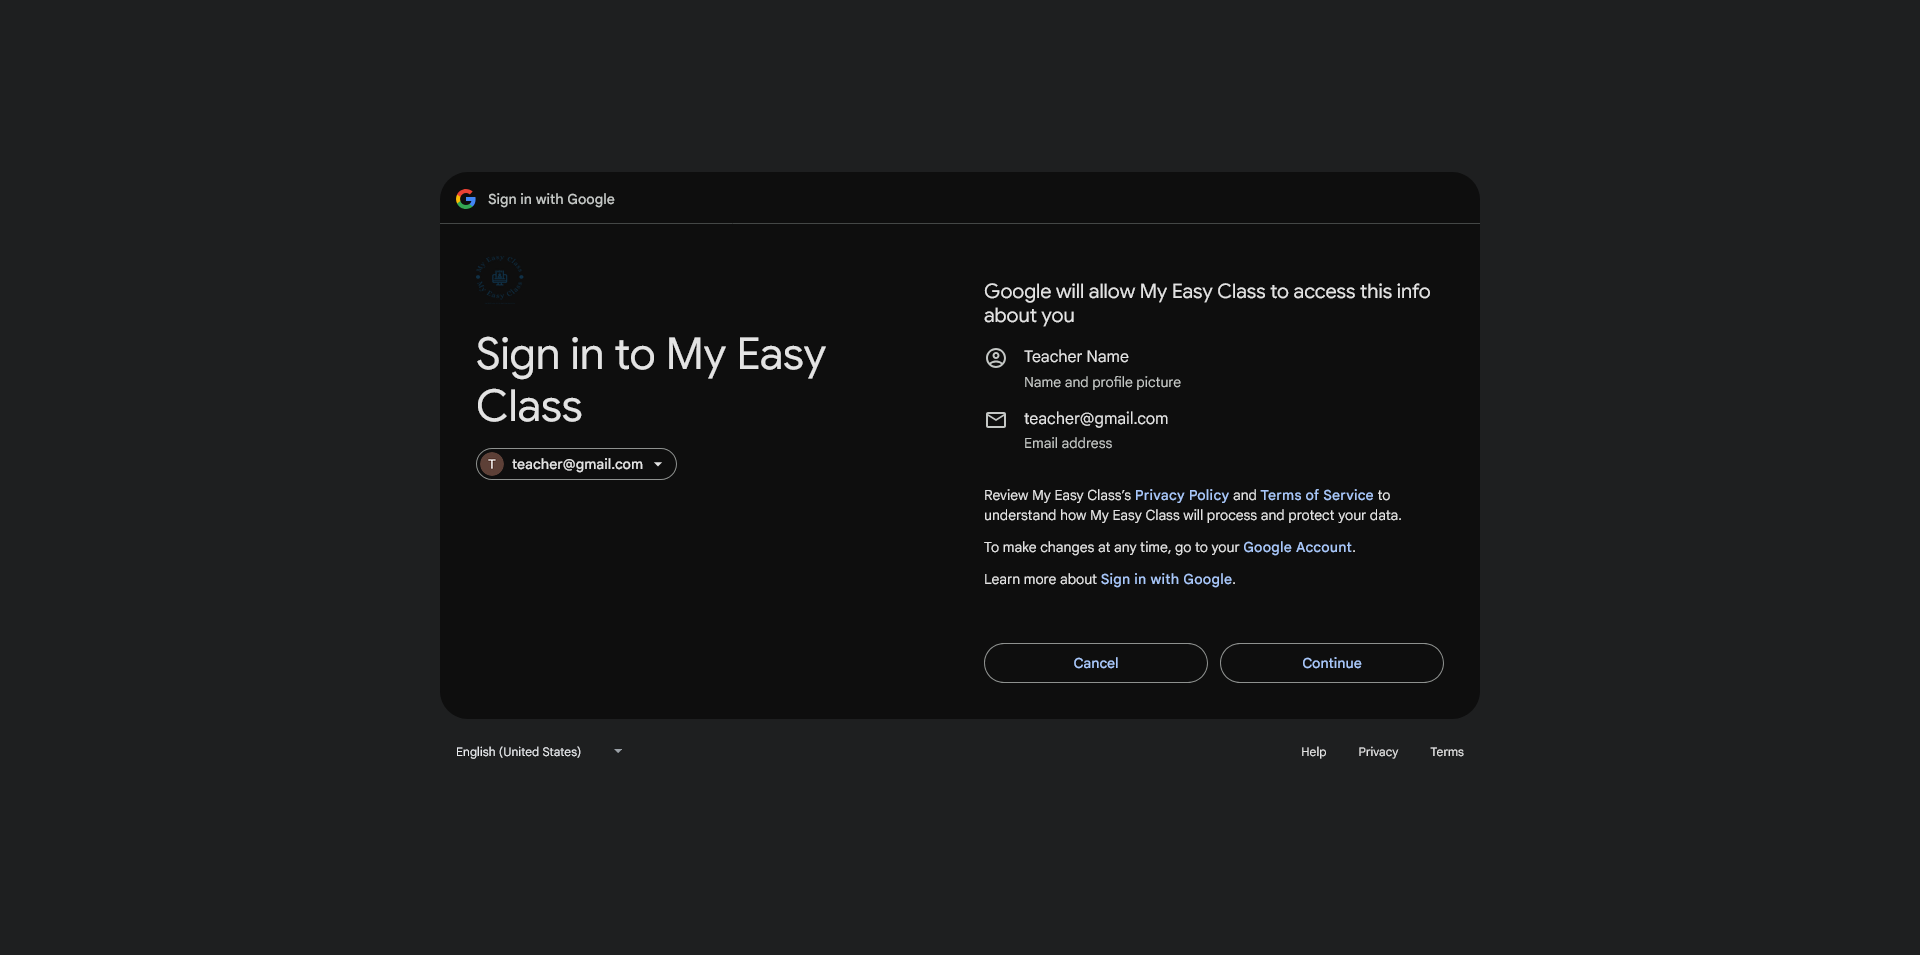
5. Allow access to Google Info
Now you need to provide access to your Google Info.
MyEasyClass only needs the name and the email address from your Google Account.
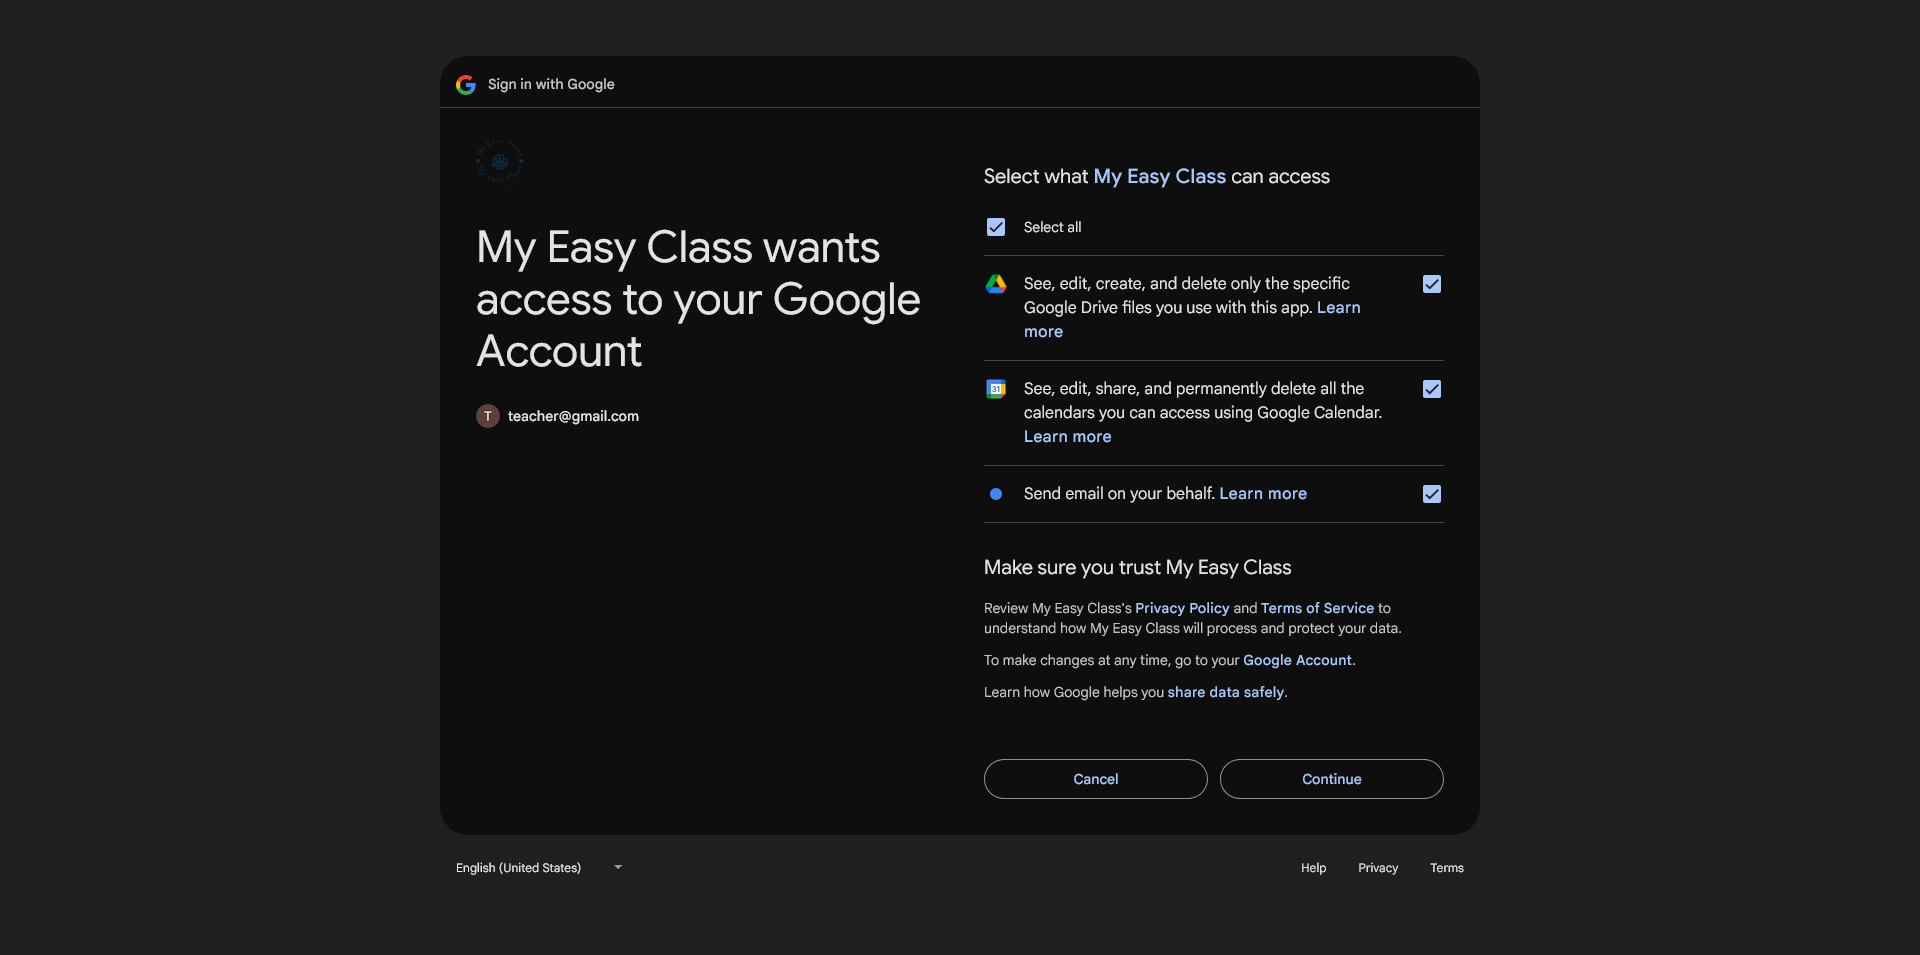
6. Allow access to Google Services
Now you need to provide access to your Google Services.
In the list you'll see everything MyEasyClass requires in order to work.
Select all in the checkbox at the top.
Then click the "Continue" button.
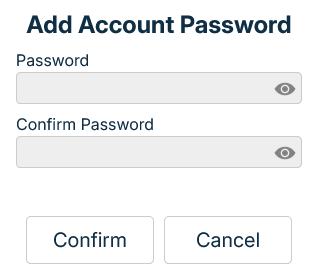
7. Add a password to your account
Now your account has been created.
You'll now be prompted to input a password for your account.
This way you don't need to go through the Google login again and you can simply log in with the email and password.
Enter your password in the "Enter password" filed, then enter it again in the "Confirm password" filed.
You can toggle the eye icon to switch between hidden and shown view of the password.
Both fileds must be filled.
Both passwords must match.
Click the "Confirm" button to finish adding in your password.
Register a new account with Zoom
1. Enter the login page
When you enter MyEasyClass you'll be presented with the initial screen.
Click the "Sign up for free" button to go to the login page.
2. Register with Zoom
In the main login window on the right side you'll see a Zoom icon.
Click it to start the process of registering with Zoom.
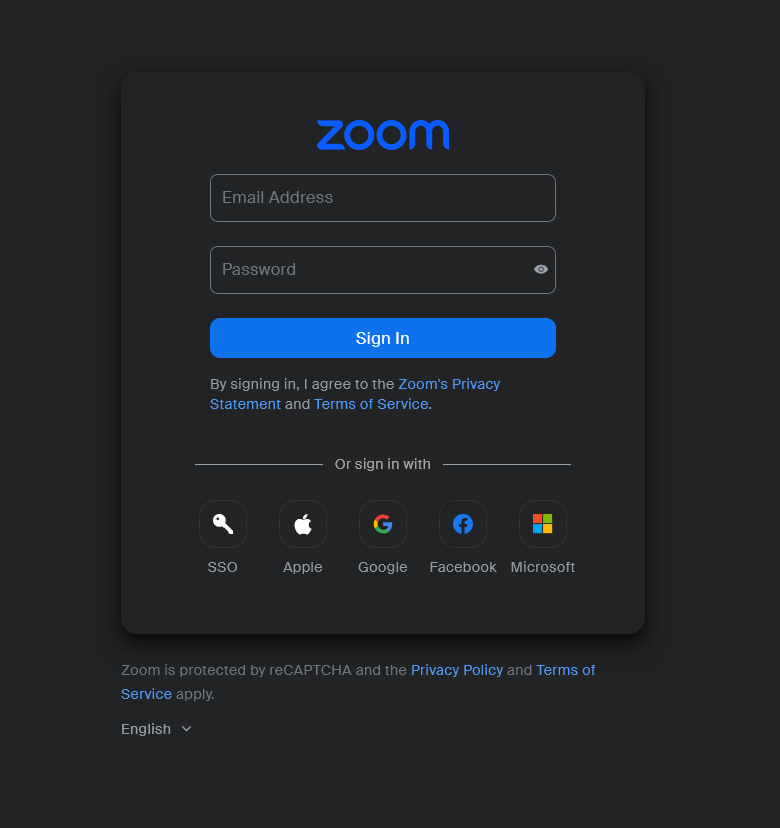
3. Sign in with Zoom
You've now been transfered to the Zoom signup screen.
Enter your Zoom email address and password in the fields below.
Click the "Sign in" button to continue.
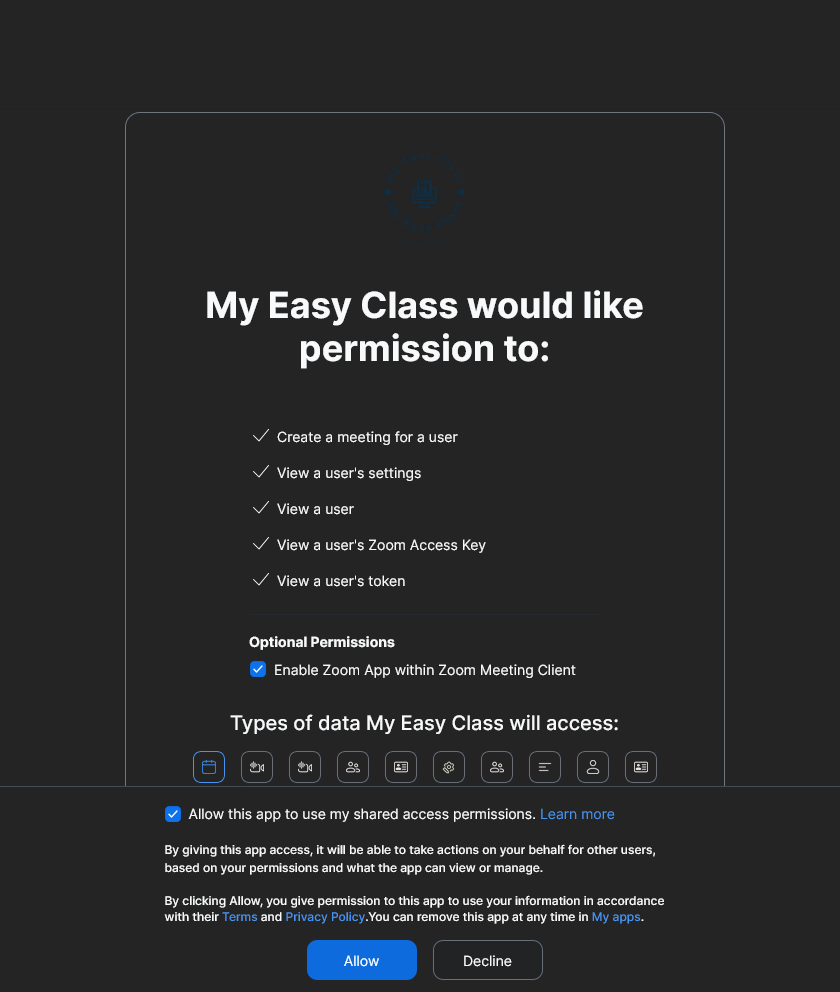
4. Authorize Zoom
Now we need to authorize MyEasyClass to have access to your Zoom features.
We need to enable the Zoom App by checking the first checkbox.
Then we need to allow MyEasyClass to have shared access permissions so we can hold meetings within the app.
We do this by checking the sencond checkbox.
Then finally we click the "Allow" button.
5. Add a password to your account
Now your account has been created.
You'll now be prompted to input a password for your account.
This way you don't need to go through the Zoom login again and you can simply log in with the email and password.
Enter your password in the "Enter password" filed, then enter it again in the "Confirm password" filed.
You can toggle the eye icon to switch between hidden and shown view of the password.
Both fileds must be filled.
Both passwords must match.
Click the "Confirm" button to finish adding in your password.
Login to your account
1. Enter the login page
When you enter MyEasyClass you'll be presented with the initial screen.
Click the "Sign up for free" button to go to the login page.
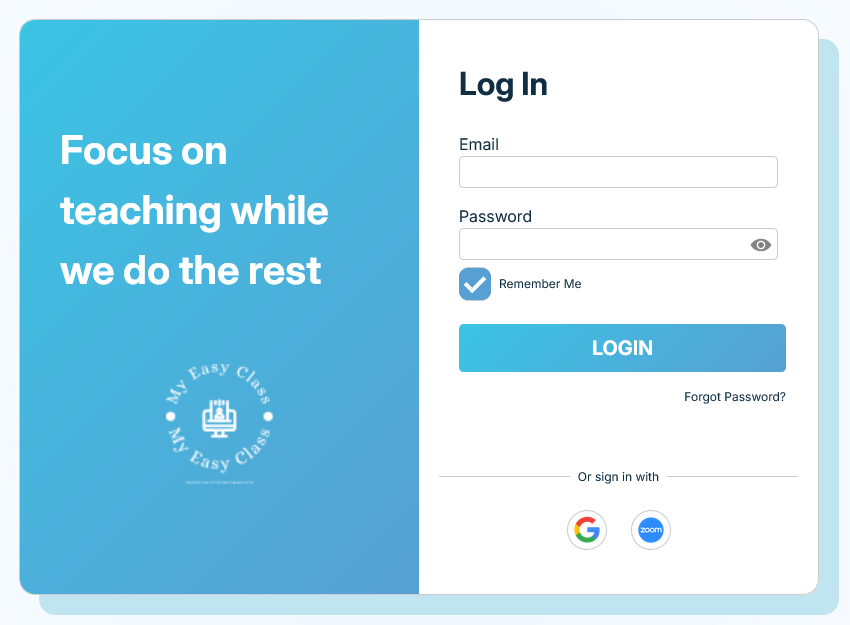
2. Navigate the login page
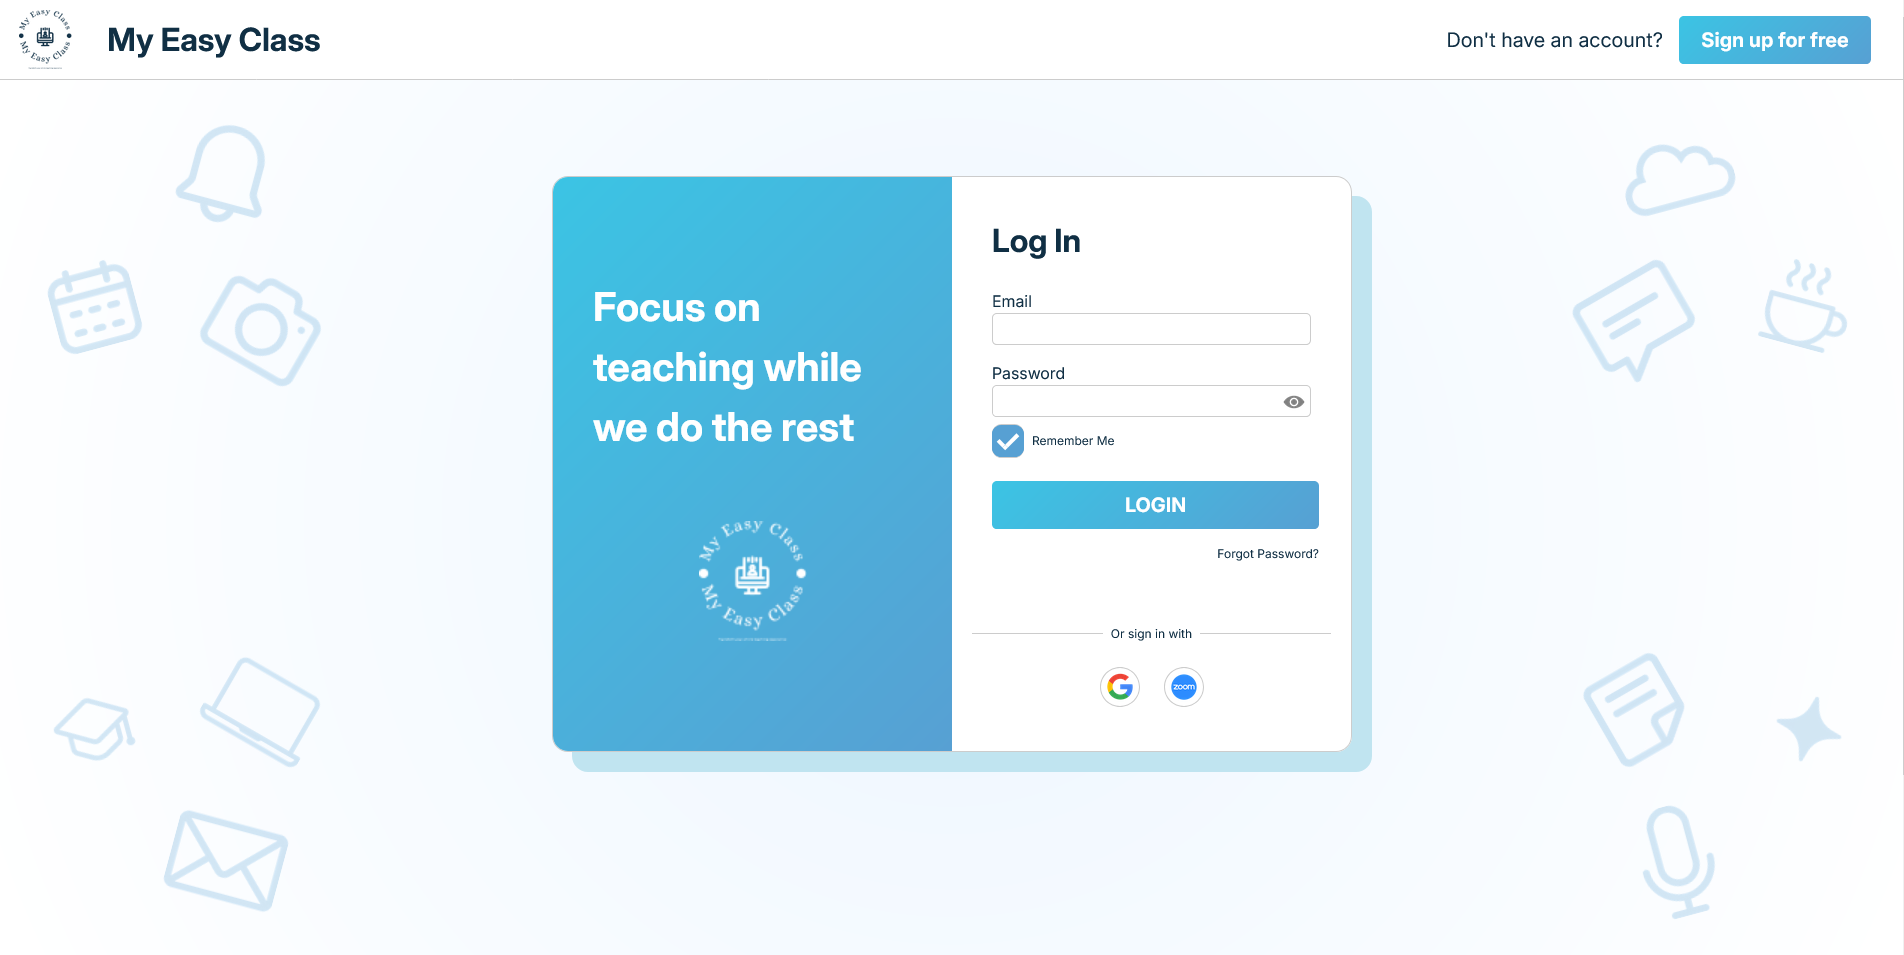
This is our "Login" page.
Here we'll enter all the required files to access our account.
3. Enter the account email
In the email field enter your email.
This field cannot be empty.
4. Enter the new account password
In the password field enter your password.
This field cannot be empty.
Clicking on the eye icon you can switch between the hidden and shown view for the password.
5. Remember me
If you check this box you'll stay logged in even if you close the tab.
If you don't want to enter your email and password every time you enter the app check this box.
6. Confirm your login
If you've entered all the required fields we can now finish the signin proccess.
Click the "LOGIN" button to enter your account.
Login to your account with Google
1. Enter the login page
When you enter MyEasyClass you'll be presented with the initial screen.
Click the "Sign up for free" button to go to the login page.
2. Login with Google
In the main login window on the right side you'll see a Google icon.
Click it to start the process of sign in with Google.
3. Enter your Google email
You've now been transfered to the Google signup screen.
Enter your Google address in the filed below.
4. Enter your Google password
Now enter your Google password in the field below.
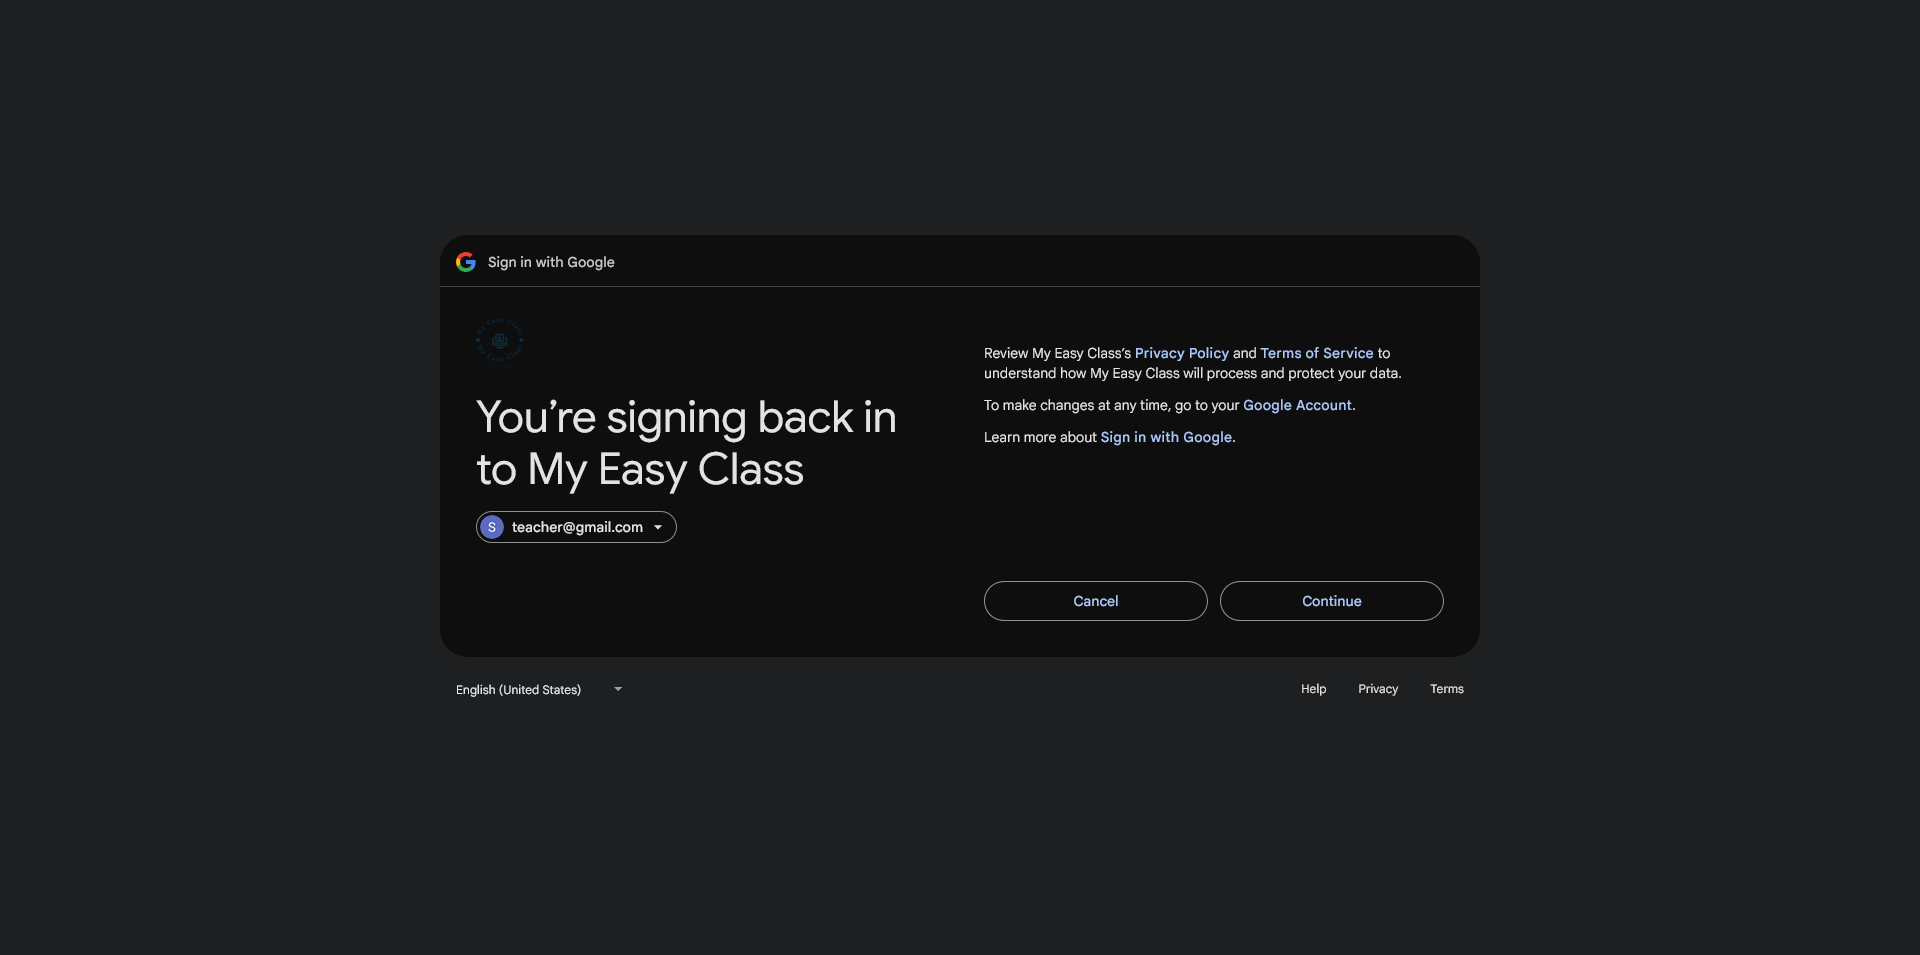
5. Read the Google Privacy Policy and Terms of Service
Now you need to accept the Google Privacy Policy and Terms of Service
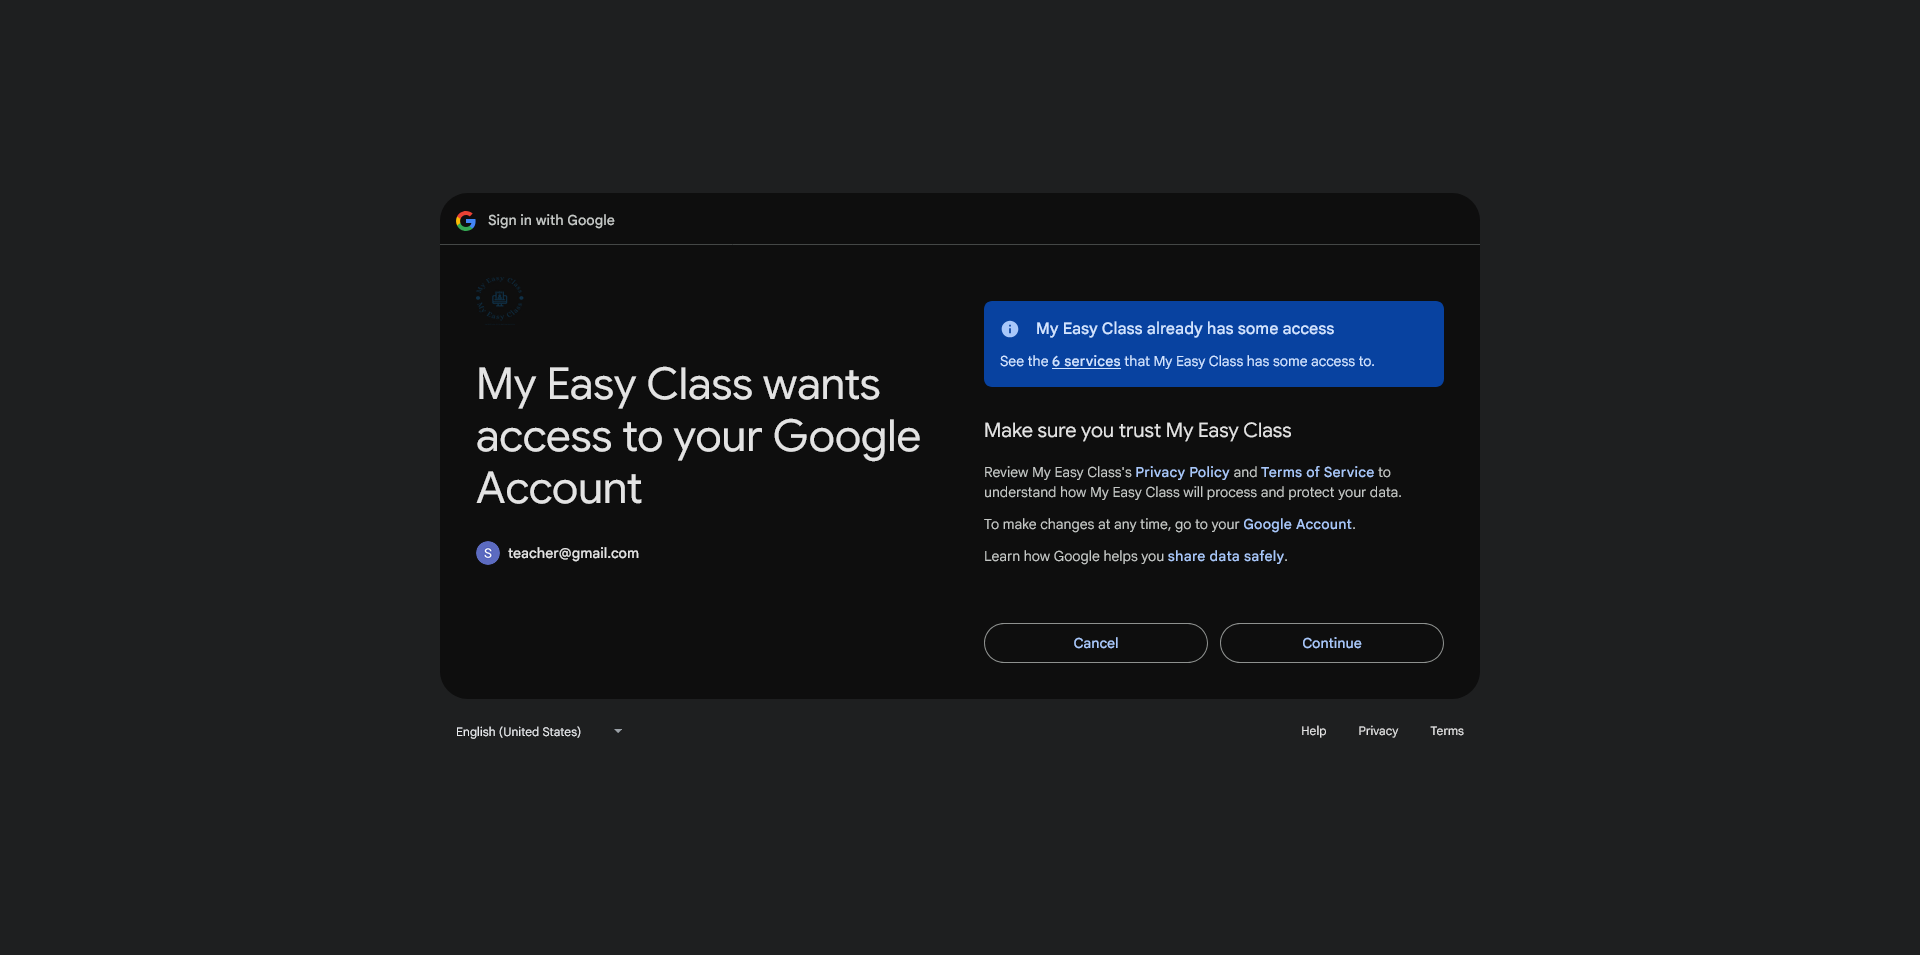
6. Allow access to Google Services
Now you need to provide access to your Google Services.
In the list you'll see everything MyEasyClass already has permission to use.
You need to allow access to your Google account so MyEasyClass can funciton properly.
Then click the "Continue" button.
Login to your account with Zoom
1. Enter the login page
When you enter MyEasyClass you'll be presented with the initial screen.
Click the "Sign up for free" button to go to the login page.
2. Login with Zoom
In the main login window on the right side you'll see a Zoom icon.
Click it to start the process of sign in with Zoom.
3. Sign in with Zoom
You've now been transfered to the Zoom signup screen.
Enter your Zoom email address and password in the fields below.
Click the "Sign in" button to continue.
4. Authorize Zoom
Now we need to authorize MyEasyClass to have access to your Zoom features.
We need to enable the Zoom App by checking the first checkbox.
Then we need to allow MyEasyClass to have shared access permissions so we can hold meetings within the app.
We do this by checking the sencond checkbox.
Then finally we click the "Allow" button.
Connect Google to your account
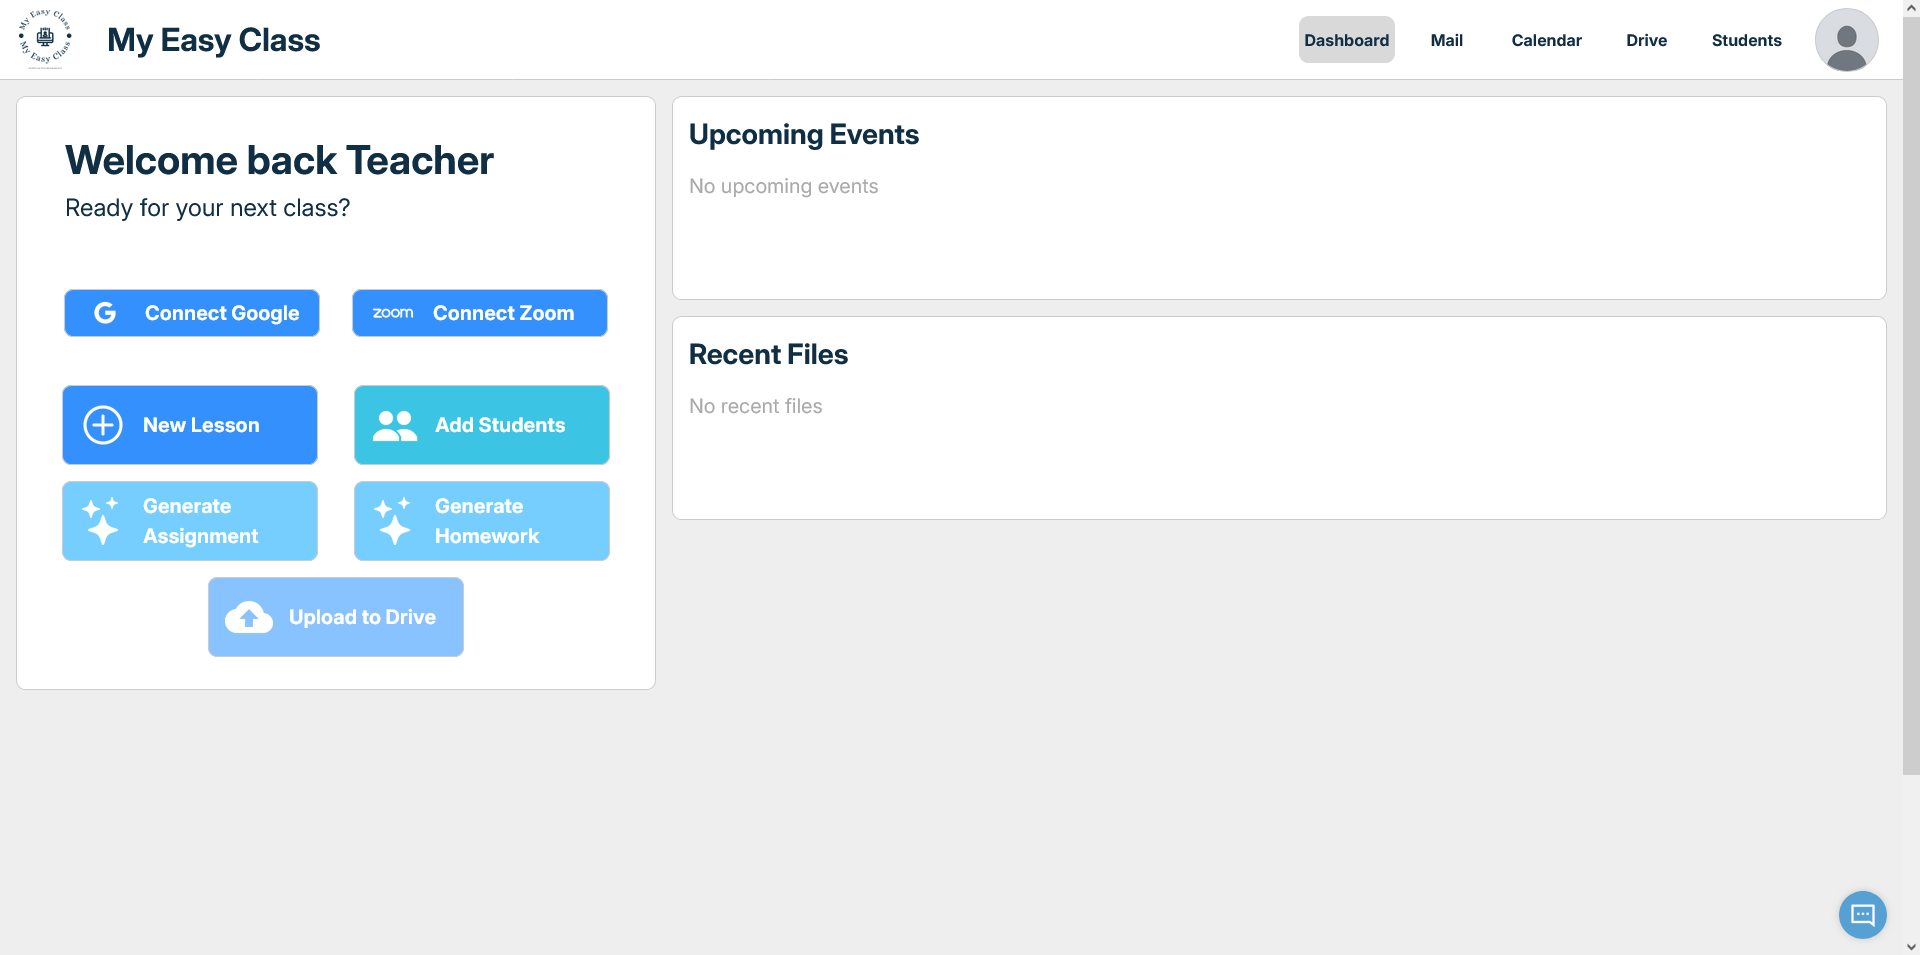
1. Is it already connected?
If you've made your account using Google, then Google is already connected.
You can see it in the dashboard of MyEasyClass.
If there is no "Connect Google" button then you're already connected.
If that is the case you can skip the rest of this tutorial.
2. Connect Google
In the dashboard of MyEasyClass on the left side you'll see the "Connect Google" button.
Click it to start the process of connecting your account with Google.
3. Enter your Google email
You've now been transfered to the Google signup screen.
Enter your Google address in the filed below.
4. Enter your Google password
Now enter your Google password in the field below.
5. Read the Google Privacy Policy and Terms of Service
Now you need to accept the Google Privacy Policy and Terms of Service
6. Allow access to Google Services
Now you need to provide access to your Google Services.
In the list you'll see everything MyEasyClass already has permission to use.
You need to allow access to your Google account so MyEasyClass can funciton properly.
Then click the "Continue" button.
Connect Zoom to your account
1. Is it already connected?
If you've made your account using Zoom, then Zoom is already connected.
You can see it in the dashboard of MyEasyClass.
If there is no "Connect Zoom" button then you're already connected.
If that is the case you can skip the rest of this tutorial.
2. Connect Zoom
In the dashboard of MyEasyClass on the left side you'll see the "Connect Zoom" button.
Click it to start the process of connecting your account with Zoom.
3. Sign in with Zoom
You've now been transfered to the Zoom signup screen.
Enter your Zoom email address and password in the fields below.
Click the "Sign in" button to continue.
4. Authorize Zoom
Now we need to authorize MyEasyClass to have access to your Zoom features.
We need to enable the Zoom App by checking the first checkbox.
Then we need to allow MyEasyClass to have shared access permissions so we can hold meetings within the app.
We do this by checking the sencond checkbox.
Then finally we click the "Allow" button.
Change your Password
1. Enter the login page
When you enter MyEasyClass you'll be presented with the initial screen.
Click the "Sign up for free" button to go to the login page.
2. Select "Forgot Password"
On the right side of the login window, below the "LOGIN" button you'll see "Forgot Password?".
Click on this link to begin the process of changing the password.
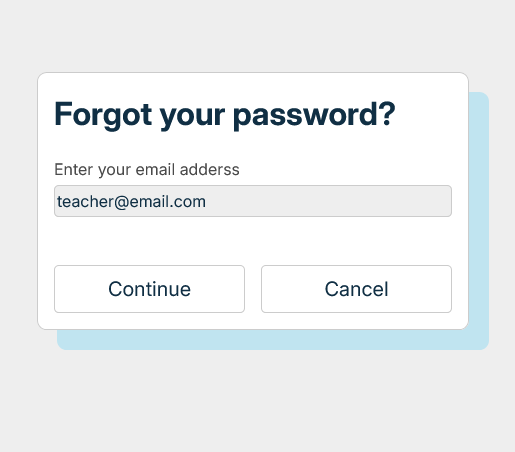
3. Enter your email
In the input field enter the email address of the account you wish to change the password for.
The click the "Continue" button.
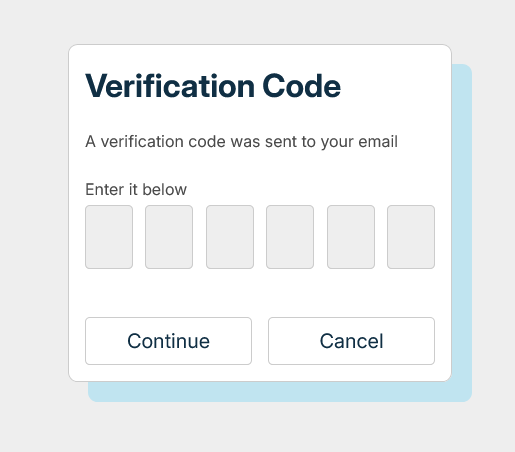
4. Find the verification code
A 6-digit verification code has been sent to your email.
In your email inbox you should see an email from MyEasyClass labeled "Reset Password.
When you open it you should see the following window.
Type the code marked with blue letters into the verification code window.
5. Enter the verification code
You'll need to enter the verification code from your email to continue.
The code only lasts 120s.
Enter it here and then click the "Continue" button.
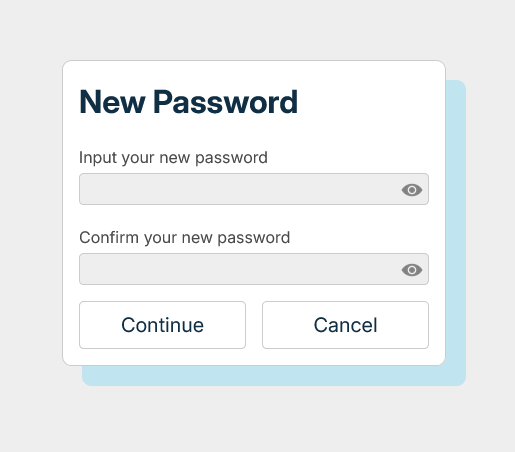
6. Enter the new password
Now you can type your new password in the first field.
Confirm the password by typing it again in the second field.
Both fileds must be filled.
The fileds must match.
You can use the eye icon to toggle between hidden and shown display of the password.
Once you input your new password click "Continue" and the password should be updated.
About Me
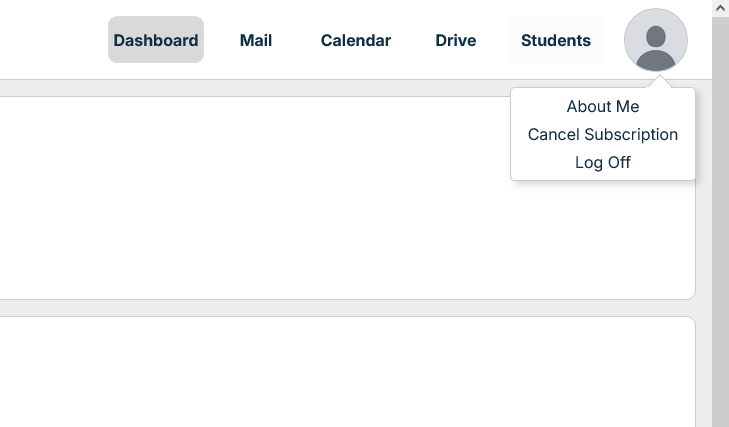
1. Open the account settings
In the top right corner of MyEasyClass you'll see your profile icon.
Click it to reveal your account settings.
2. Enter the "About Me" page
In the drop down menu you'll see "About Me".
Clicking it will take you to the "About Me" page.
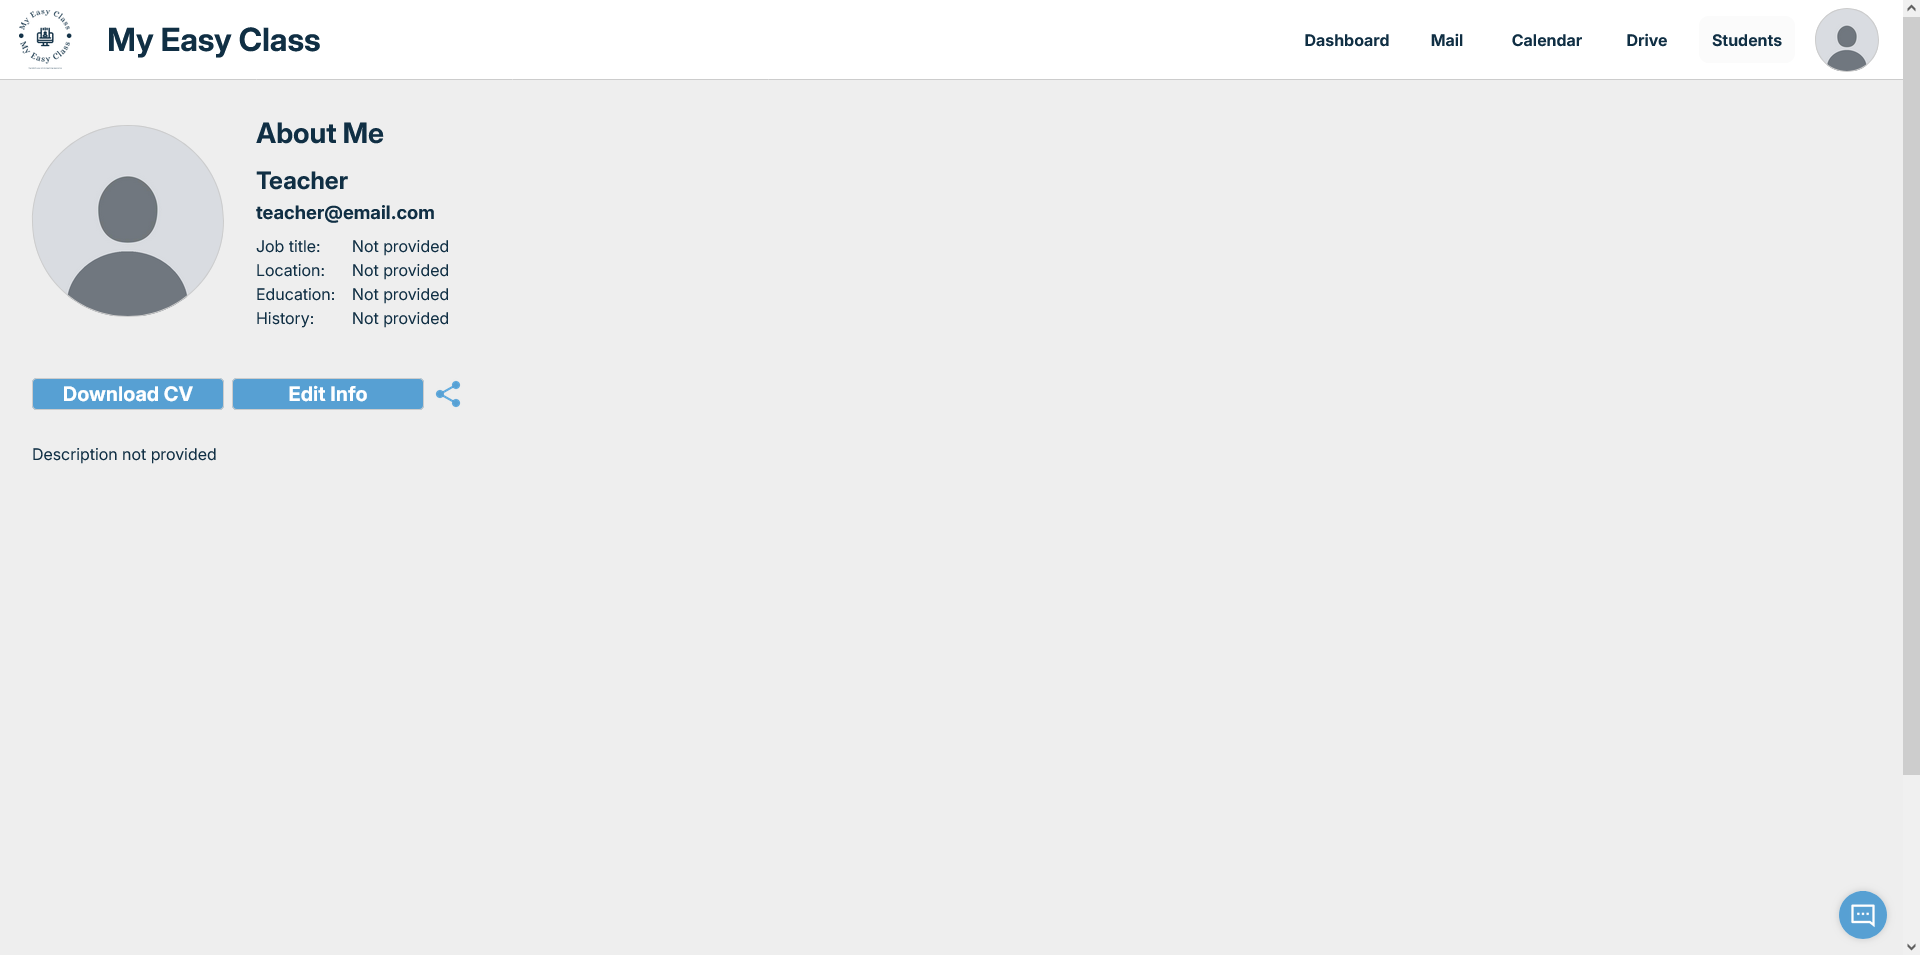
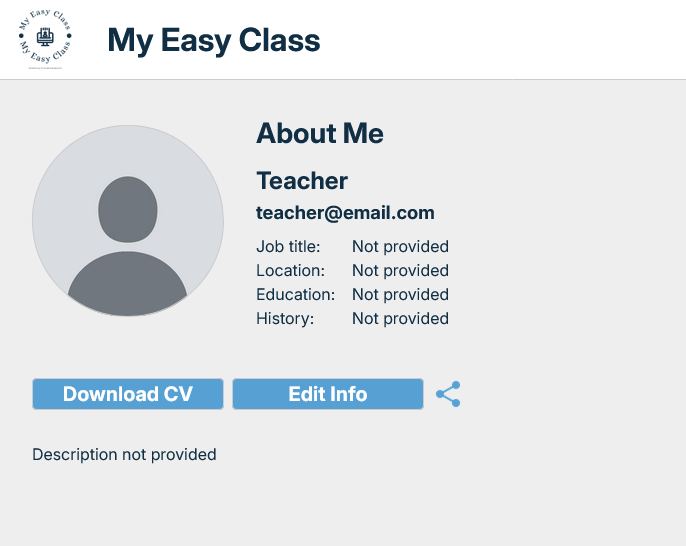
3. Navigate the "About Me" page
Here is your "About Me" page.
Here you can add info about yourself so that you have an easy way to share your profile to others.
You can alos customize your profile here by adding in your profile picture or changing your display name.
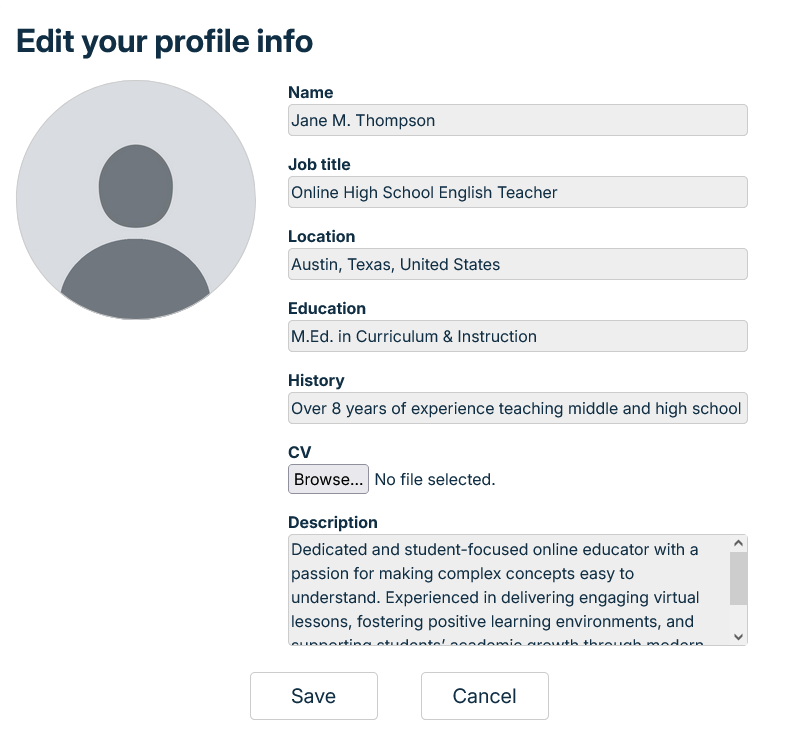
4. Edit Teacher Info
In order to edit your info click the "Edit Info Button".
5. Add your info
Here you can edit your name, job title, location, education and history.
You can also add a short description about yourself which will be placed on your profile.
5. Edit your profile picture
By clicking on your profile picture a file upload will apear.
Select which image you wish to use as a profile icon.
You'll see the preview oh how it looks right away.
6. Add your CV
By clicking the CV button you'll be prompted to upload a DOC or PDF file containing your CV.
Other people can then view it by looking on your profile page.
7. Confirm your info
If you're done with editing your info and everything looks good you'll need to save the changes.
Click the "Save" button to save all the changes you've made to your profile.
This will clse the edit info window and show you your updated "About Me".
8. Download your CV
By clicking the "Download CV" button you can download the CV which you added to your profile.
9. Share your page
By clicking the share icon an URL with your teacher profile will be copied to your Clipboard.
You can now send that link to whoevery you wish and they'll be able to see your teacher profile.
Log out from your account
1. Open the account settings
In the top right corner of MyEasyClass you'll see your profile icon.
Click it to reveal your account settings.
2. Log out
In the drop down menu you'll see "Log Off".
Clicking it will log you off your account and return you to the initial MyEasyClass screen.
Send an email
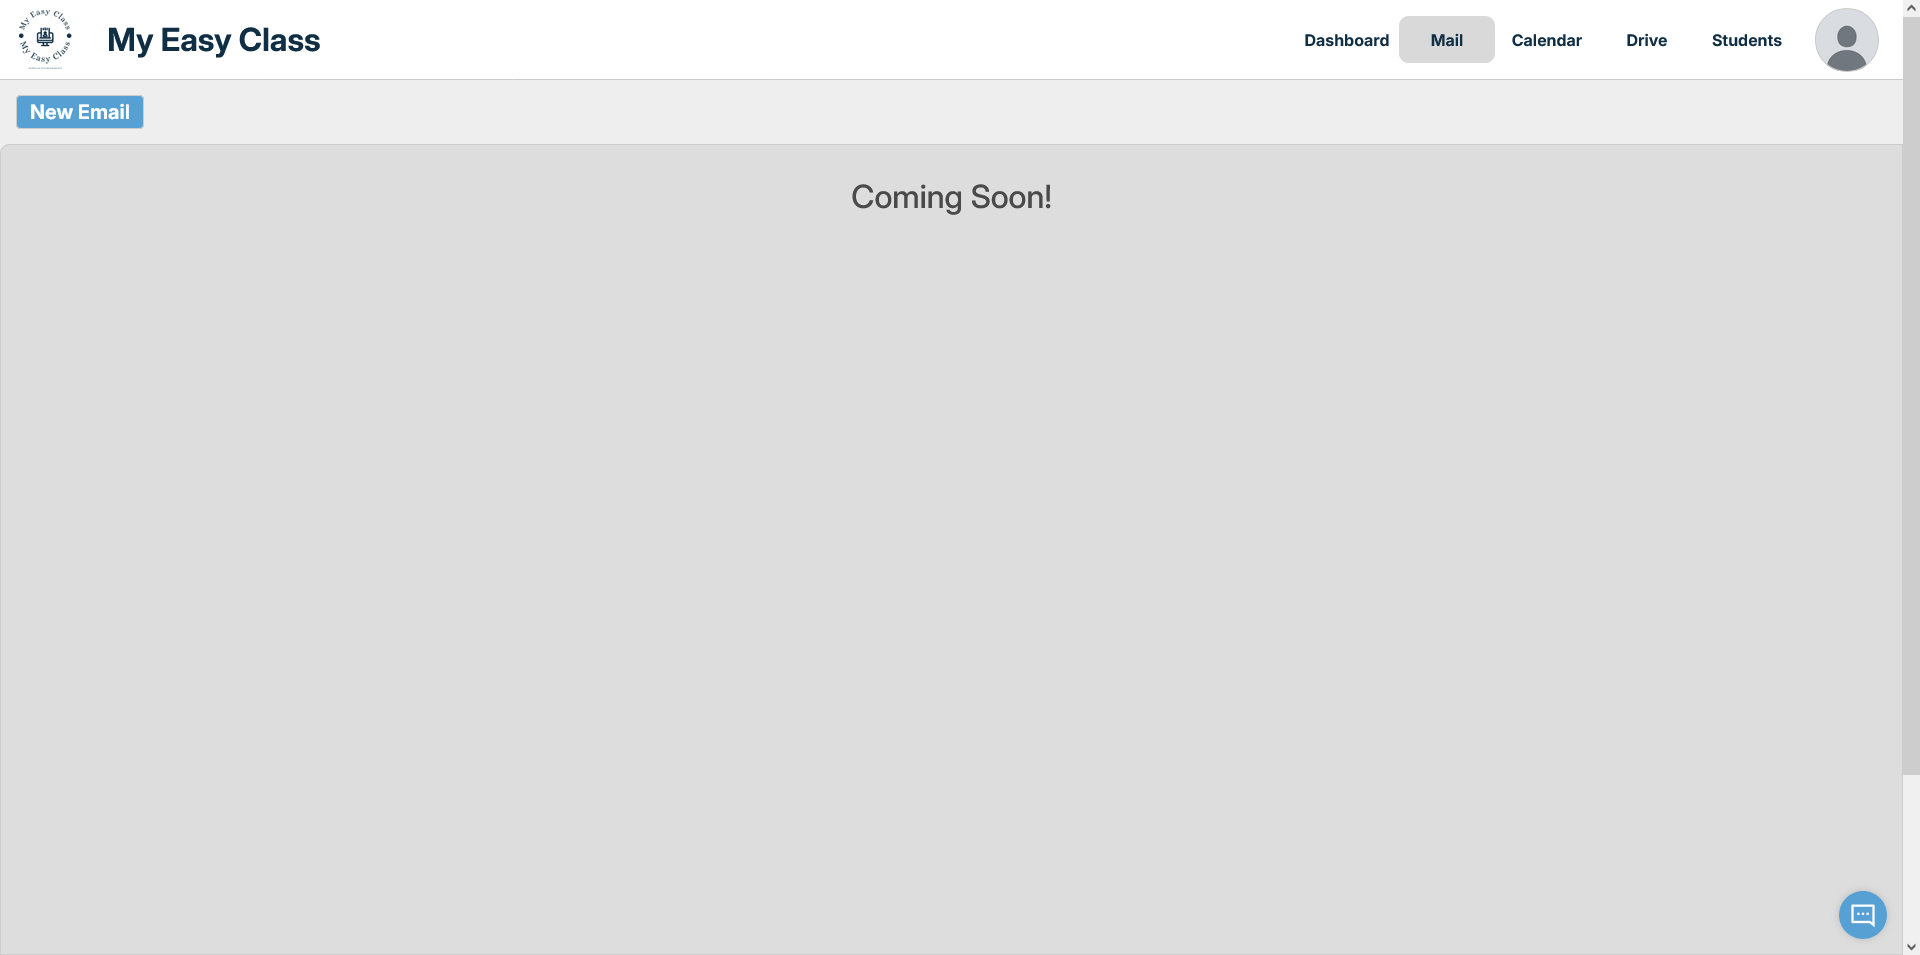
1. Go to the Mail tab
In the top of MyEasyClass on the right side you'll see your tabs.
Click the "Mail" tab to endter the Mail Page.
2. Open the "Send Mail" window
On the top left side of the Mail Page you can see a button labeled "New Email".
Clicking on it will revel the "Send Mail" window.
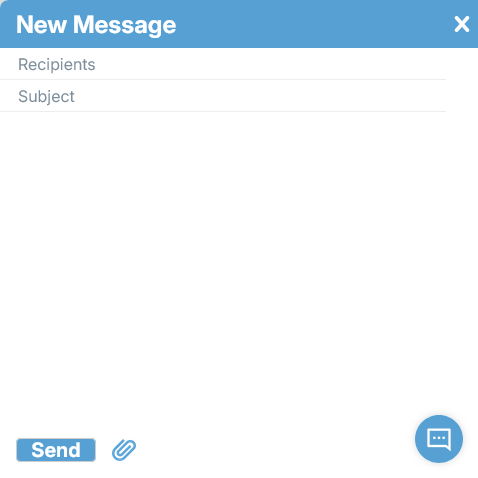
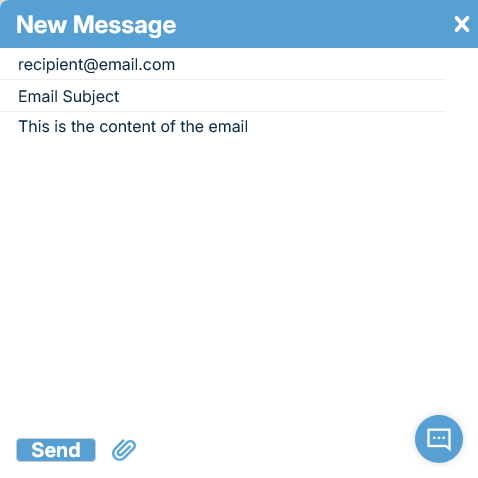
3. Navigate the "Send Mail" window
This is the "Send Mail" window.
Here we'll input everything needed to send a mail from you gmail.
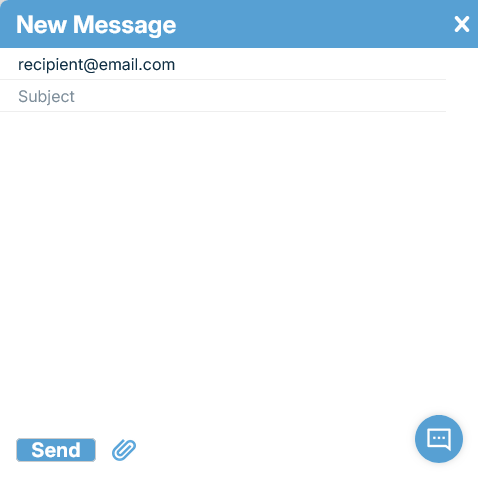
4. Enter the recipient
In the first text field we'll enter the email address of the person we wish to send the email to.
This field must not be empty.
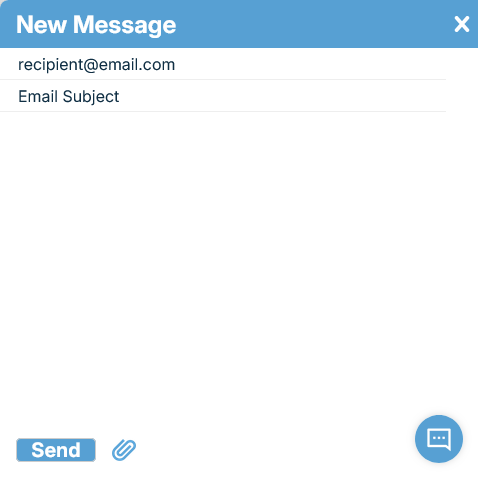
5. Enter the subject
In the second text field we'll enter the subject of the email we'll be sending.
6. Enter the content of the email
In the large text area we'll add in the content of the email.
7. Add attachments
We can send files with our email as well in the form of attachments.
Click the link icon at the bottom of the "Send Mail" window.
This will open the file select where you can choose your file you wish to send.
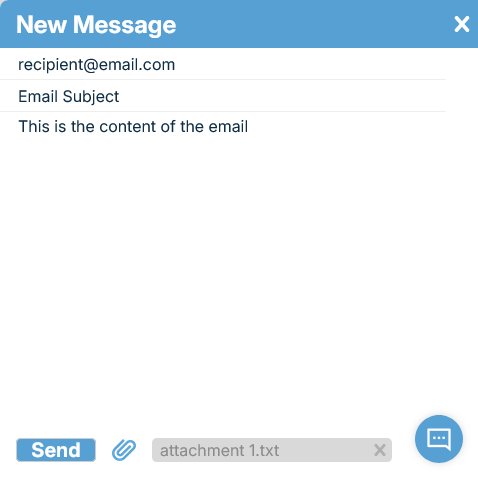
7. Confirm attachments
If the file selection was successfull you'll see your file at the bottom of the "Send Mail" window.
You can select multiple files and all will be displayed here as well so you can see everything you're about to send.
8. Remove attachments
If you changed your mind about an attachment and no longer wish to send it you can correct this.
By clicking the small "x" in the attachment file you will remove the attachment from the email.
9. Send email
If all fields are filled to your satisfaction, we can now send the email.
Simply click the "Send" button at the bottom left of the "Send Mail" window.
Navigate Calendar
1. Go to the Calendar tab
In the top of MyEasyClass on the right side you'll see your tabs.
Click the "Calendar" tab to endter the Calendar Page.
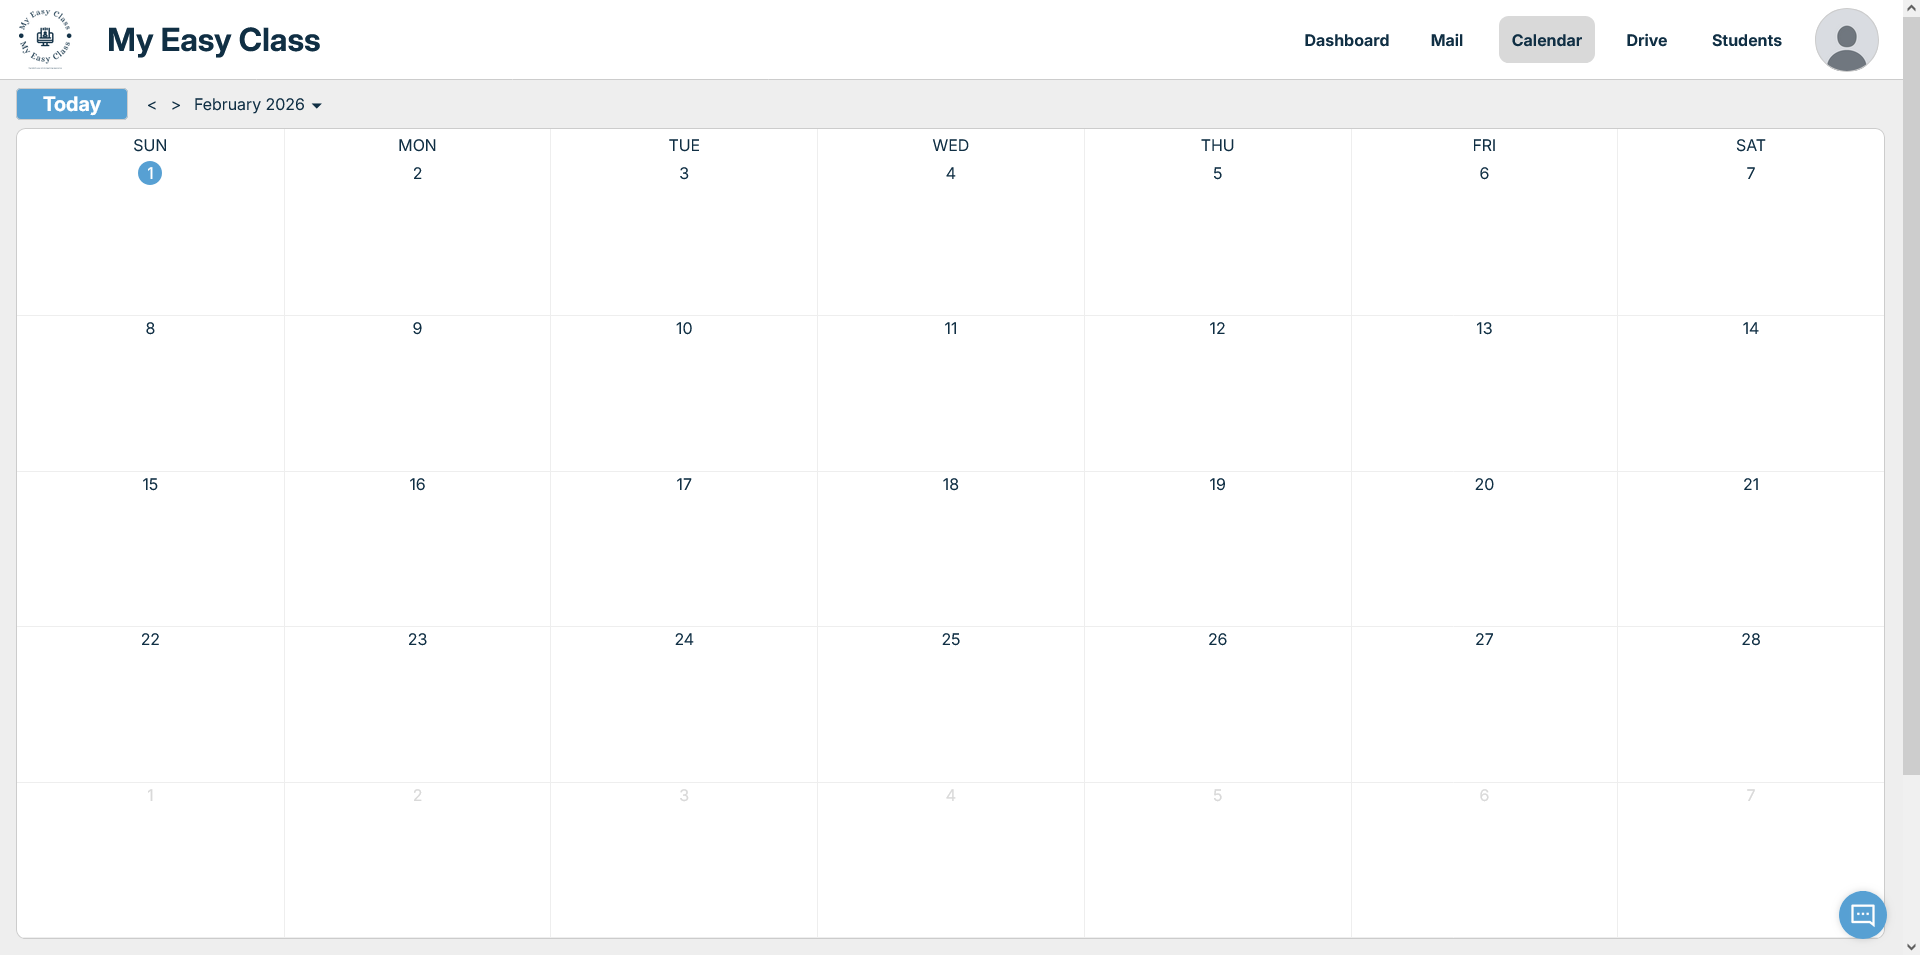
2. Navigate the Calendar Page
Here is your Calendar Page.
Here you can look up dates and add events.
Lessons you hold will have their dates automatically added here.
You can edit and delete any events as you choose.
Everything in synced with Google Calendar so any dates added, or modified here will be on your Google Calendar as well.
3. Current Date
The blue circle marks the current day on your calendar.
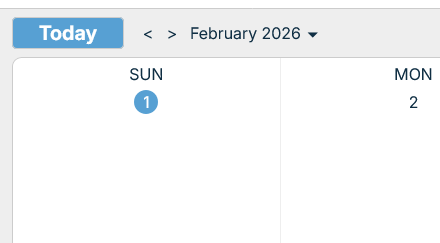
4. Change month shown
By clicking the left and right arrows you can change the current month displayed.
The left arrow shows the month before the current one.
The right arrow shows the month after the current one.
5. Change the date
By clicking the drop arrow next to the date you can select a specific date you wish to see.
6. Return to the current date
If you ever get lost you can easily return to the current date.
Simply click the "Today" button and you'll be returned to the current month display.
Add Calendar Event
1. Select Date
In order to add an event we first need to select the date.
We do this simply by clicking on the day on the calendar we wish to add the event to.
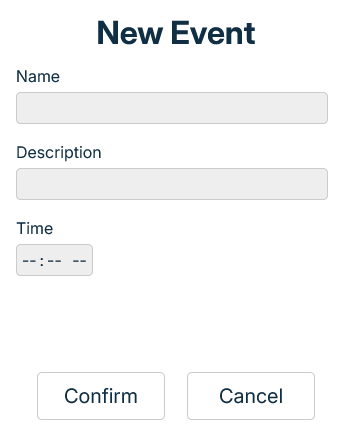
2. New Event
This will open the "Add Event" window.
Here we'll input everything we need for the event.
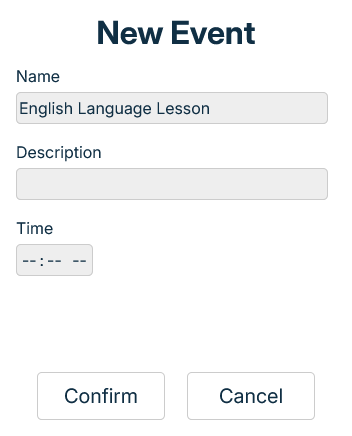
3. Event Name
First we need the name for the event.
In the first text field we input the name we wish the event to have.
This field cannot be empty.
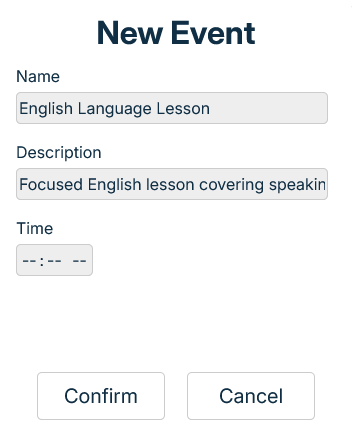
4. Event Description
Now we need a short description for the event.
We add this in the second text field.
This field cannot be empty.
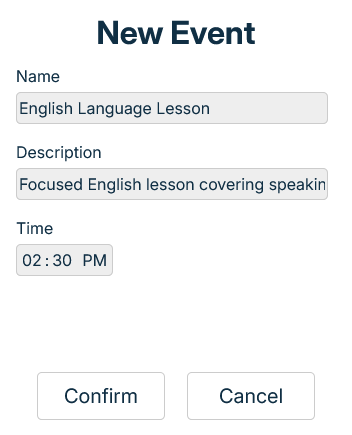
5. Event Time
We need the time when the event starts.
In the next field input the hours, minutes and if the time is in AM or PM.
This field cannot be empty.
6. Save New Event
If everything inputed is satisfactory we need to save the event.
We do that by clicking the "Confirm" button.
7. Confirm the Event
If the adding of the new event was successfull you'll see the event in the day you selected.
8. Open the Event
If you wish to see the event details you can.
You do this by clicking on the event itself.
This will open the event window.
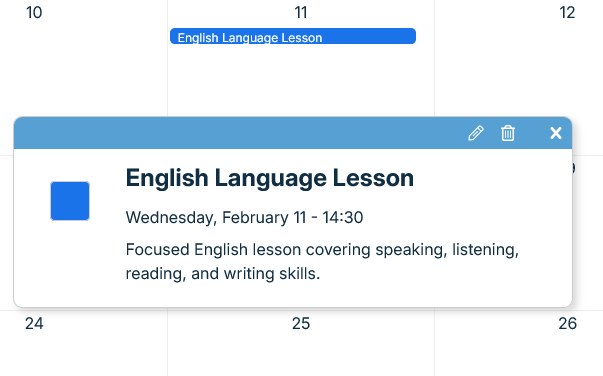
9. Event Window
This is the event window.
We can see the name, time and description we added.
Edit Calendar Event
1. Select the event
To edit the event first we need to select the event we wish to edit.
We do this by clicking on the event and opening its event window.
2. Open Edit Event Window
To edit the event we need to open the "Edit Event" window.
We do this by clicking on the pencil icon in the header of the event window.
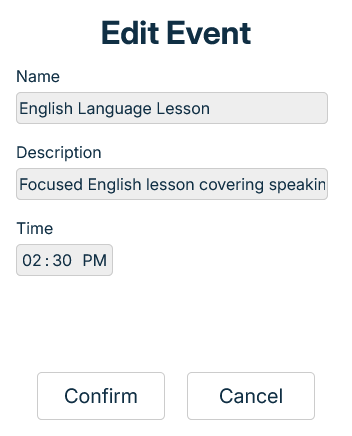
3. Edit Event
This is the "Edit Event" window.
Here we have all the event data we inputed when making the event.
4. Edit Event Name
Edit this field if you wish to edit the event name.
4. Edit Event Description
Edit this field if you wish to edit the event description.
5. Edit Event Time
Edit this field if you wish to edit the event time.
6. Confirm Edit Event
If everything inputed is satisfactory we need to save the changes made.
We do that by clicking the "Confirm" button.
Delete Calendar Event
1. Select the event
To delete the event first we need to select the event we wish to edit.
We do this by clicking on the event and opening its event window.
2. Delete the Event
To delete the event we need to click on the trash can icon in the header of the event window.
Navigate Drive
1. Go to the Drive tab
In the top of MyEasyClass on the right side you'll see your tabs.
Click the "Drive" tab to endter the Calendar Page.
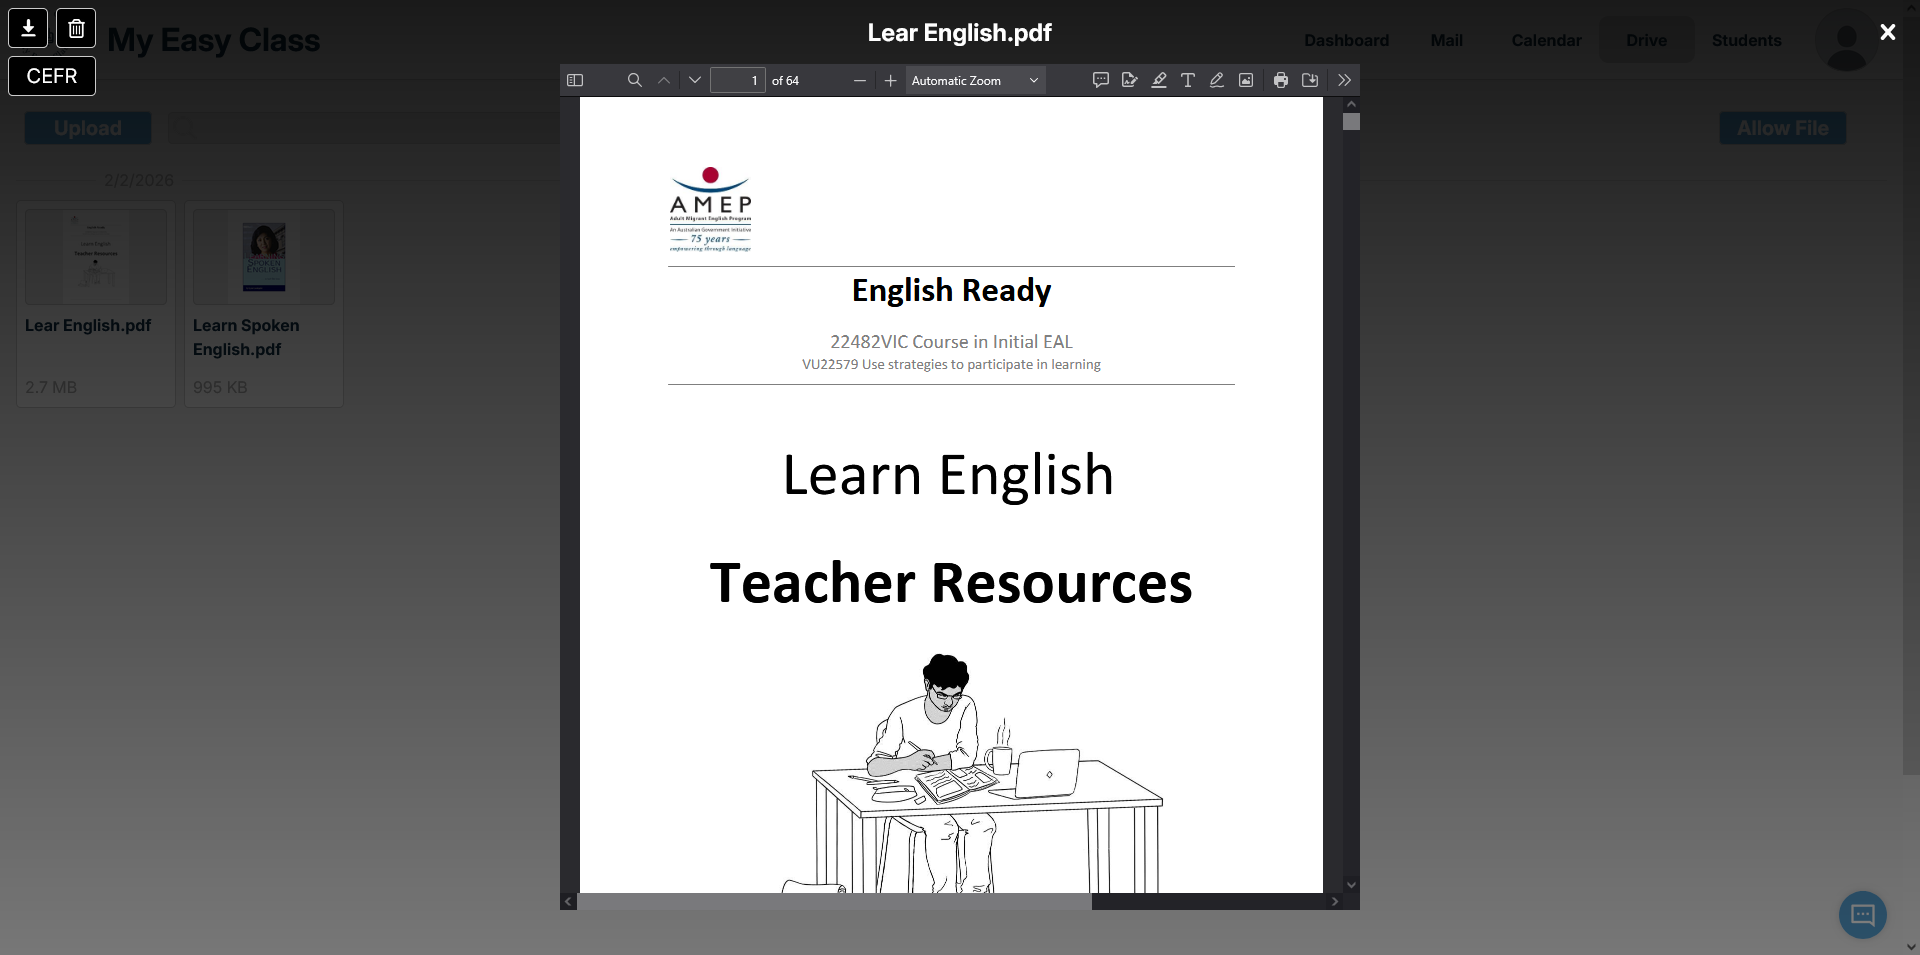
2. Navigate the Drive
Here is your drive page.
Here you can see your files you have on drive.
You can also upload and interact with the files present as well.
3. Open a file
You can open a file by clicking on it.
This will open the file display window.
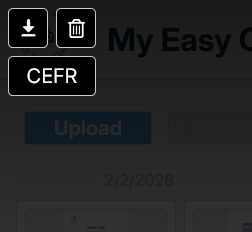
4. Download the file
You can download the file by clicking the download button.
It's located in the top left corner of the file display.
5. Delete the file
You can delete the file by clicking the delete button.
It's located in the top left corner of the file display.
6. Check CEFR
You can check the CEFR Level of the text in the file.
By clicking the "CEFR" button in the top left corner a CEFR analysys window will appear/
This tool will extract text from all supported file types, such as txt, pdf, doc, audio, image, video.
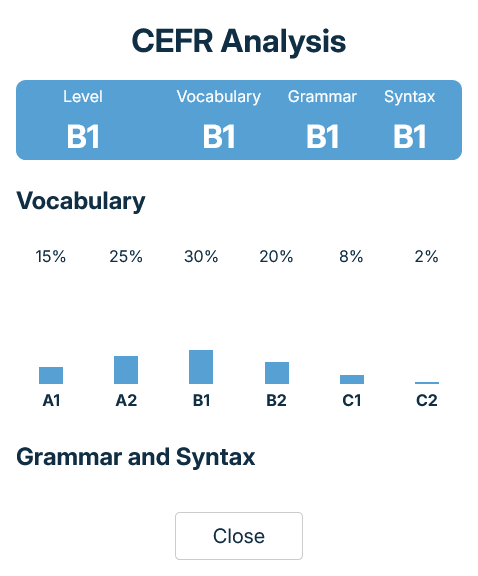
7. Check CEFR Window
Here we can see the CEFR Level window.
The top row shows us the CEFR Level for vocabulary, grammar, syntax and the overall level.
The second row shows us a bar graph with the percentages of various CEFR levels in the file text.
8. Search the Drive
This is your file search.
You can use it for fast file tracking.
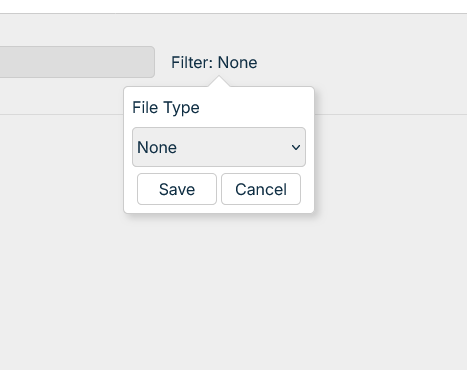
9. Filter the files
This is the file type filter.
You can use it to display only the files of a certain file type.
From the dropdown select which files you wish to see.
Save the filter by clicking "Save".
Select "None" if you wish to see all the files.
Allow files from your Drive
MyEasyClass only has automatic access to files you make or upload through us.
If you have files on your drive which were added outside of MyEasyClass then they won'e be shown.
You need to explicitly give permission for those files.
1. Allow Drive files
Locate the "Allow File" button in the top right corner of the page.
Click on it to begin the process of allowing MyEasyClass access to a certain file.
This will open a window for login with Google.
2. Enter your Google email
You've now been transfered to the Google signup screen.
Enter your Google address in the filed below.
3. Enter your Google password
Now enter your Google password in the field below.
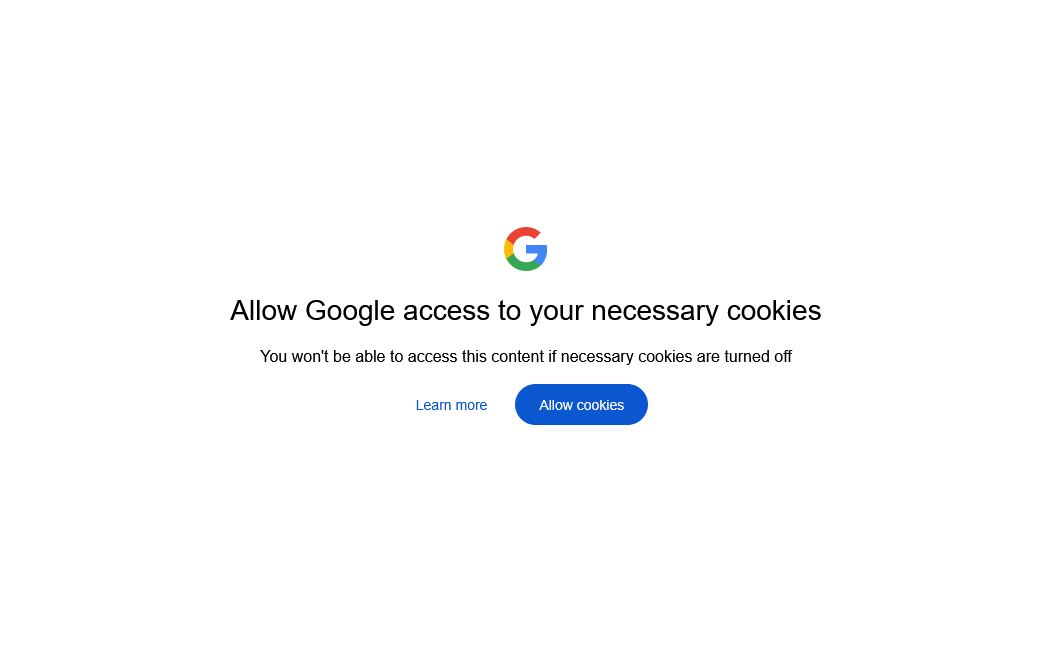
4. Allow cookies
You will be prompted to allow cookies to Google.
Click the "Allow" button to continue.
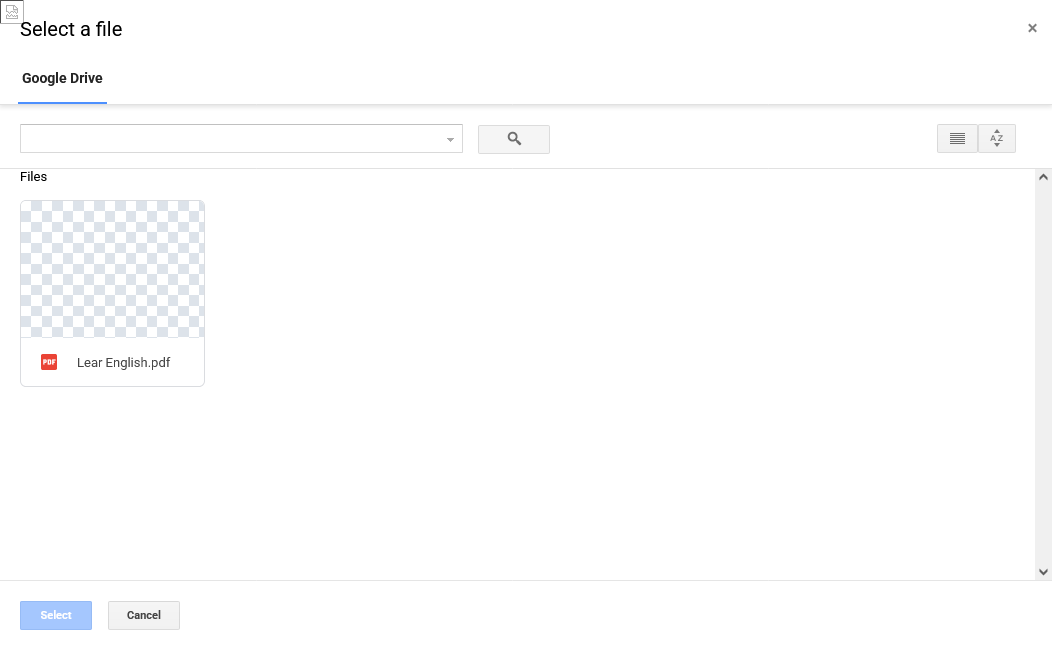
5. Choose file
You will now be shown the "File Picker" window from Google.
Here you can select the file you wish to give permission to.
When selected click the "Select button".
The file will now appear in your MyEasyClass drive.
Upload from your computer to Drive
1. Upload the file
Locate the "Upload" button in the top left corner of the page.
Click on it to begin the process of uploading a file to MyEasyClass.
This will open a window for file selection.
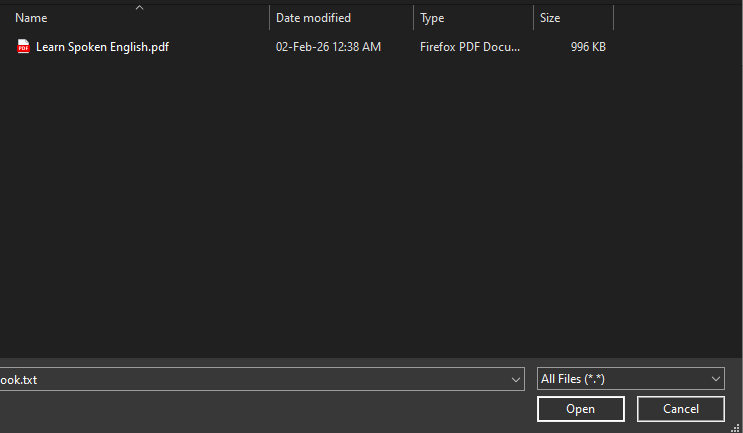
2. Select the file
Select the file you wish to upload.
Then click the "Open" button.
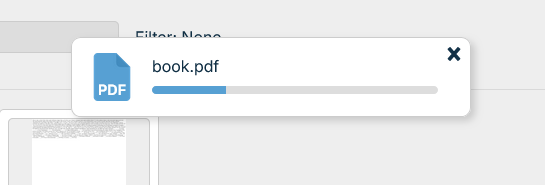
3. Upload progress
This will begin the upload process.
A window will appear with a tracker of the upload process.
When the upload finishes the popup will dissapear and the file will be present in MyEasyClass.
Clicking the "x" in the top right corner of the popup window will cancel the upload.